
Using Unsplash
Using Unsplash
In this article:
- Overview
- How to add an image from Unsplash
- Tips for using Unsplash
- Who can do this
Overview
SuperPath lets you enhance your content with high-quality, royalty-free images from Unsplash — a library of free, high-resolution photos contributed by photographers around the world. Because the picker is built in, you can search and drop a professional image straight onto a banner, page or piece of content without downloading and uploading files yourself.
How to add an image from Unsplash
- Go to the place you want to add or update an image — for example a Dashboard banner, a Library banner, or a piece of content.
- In the image picker, click Choose from Unsplash.
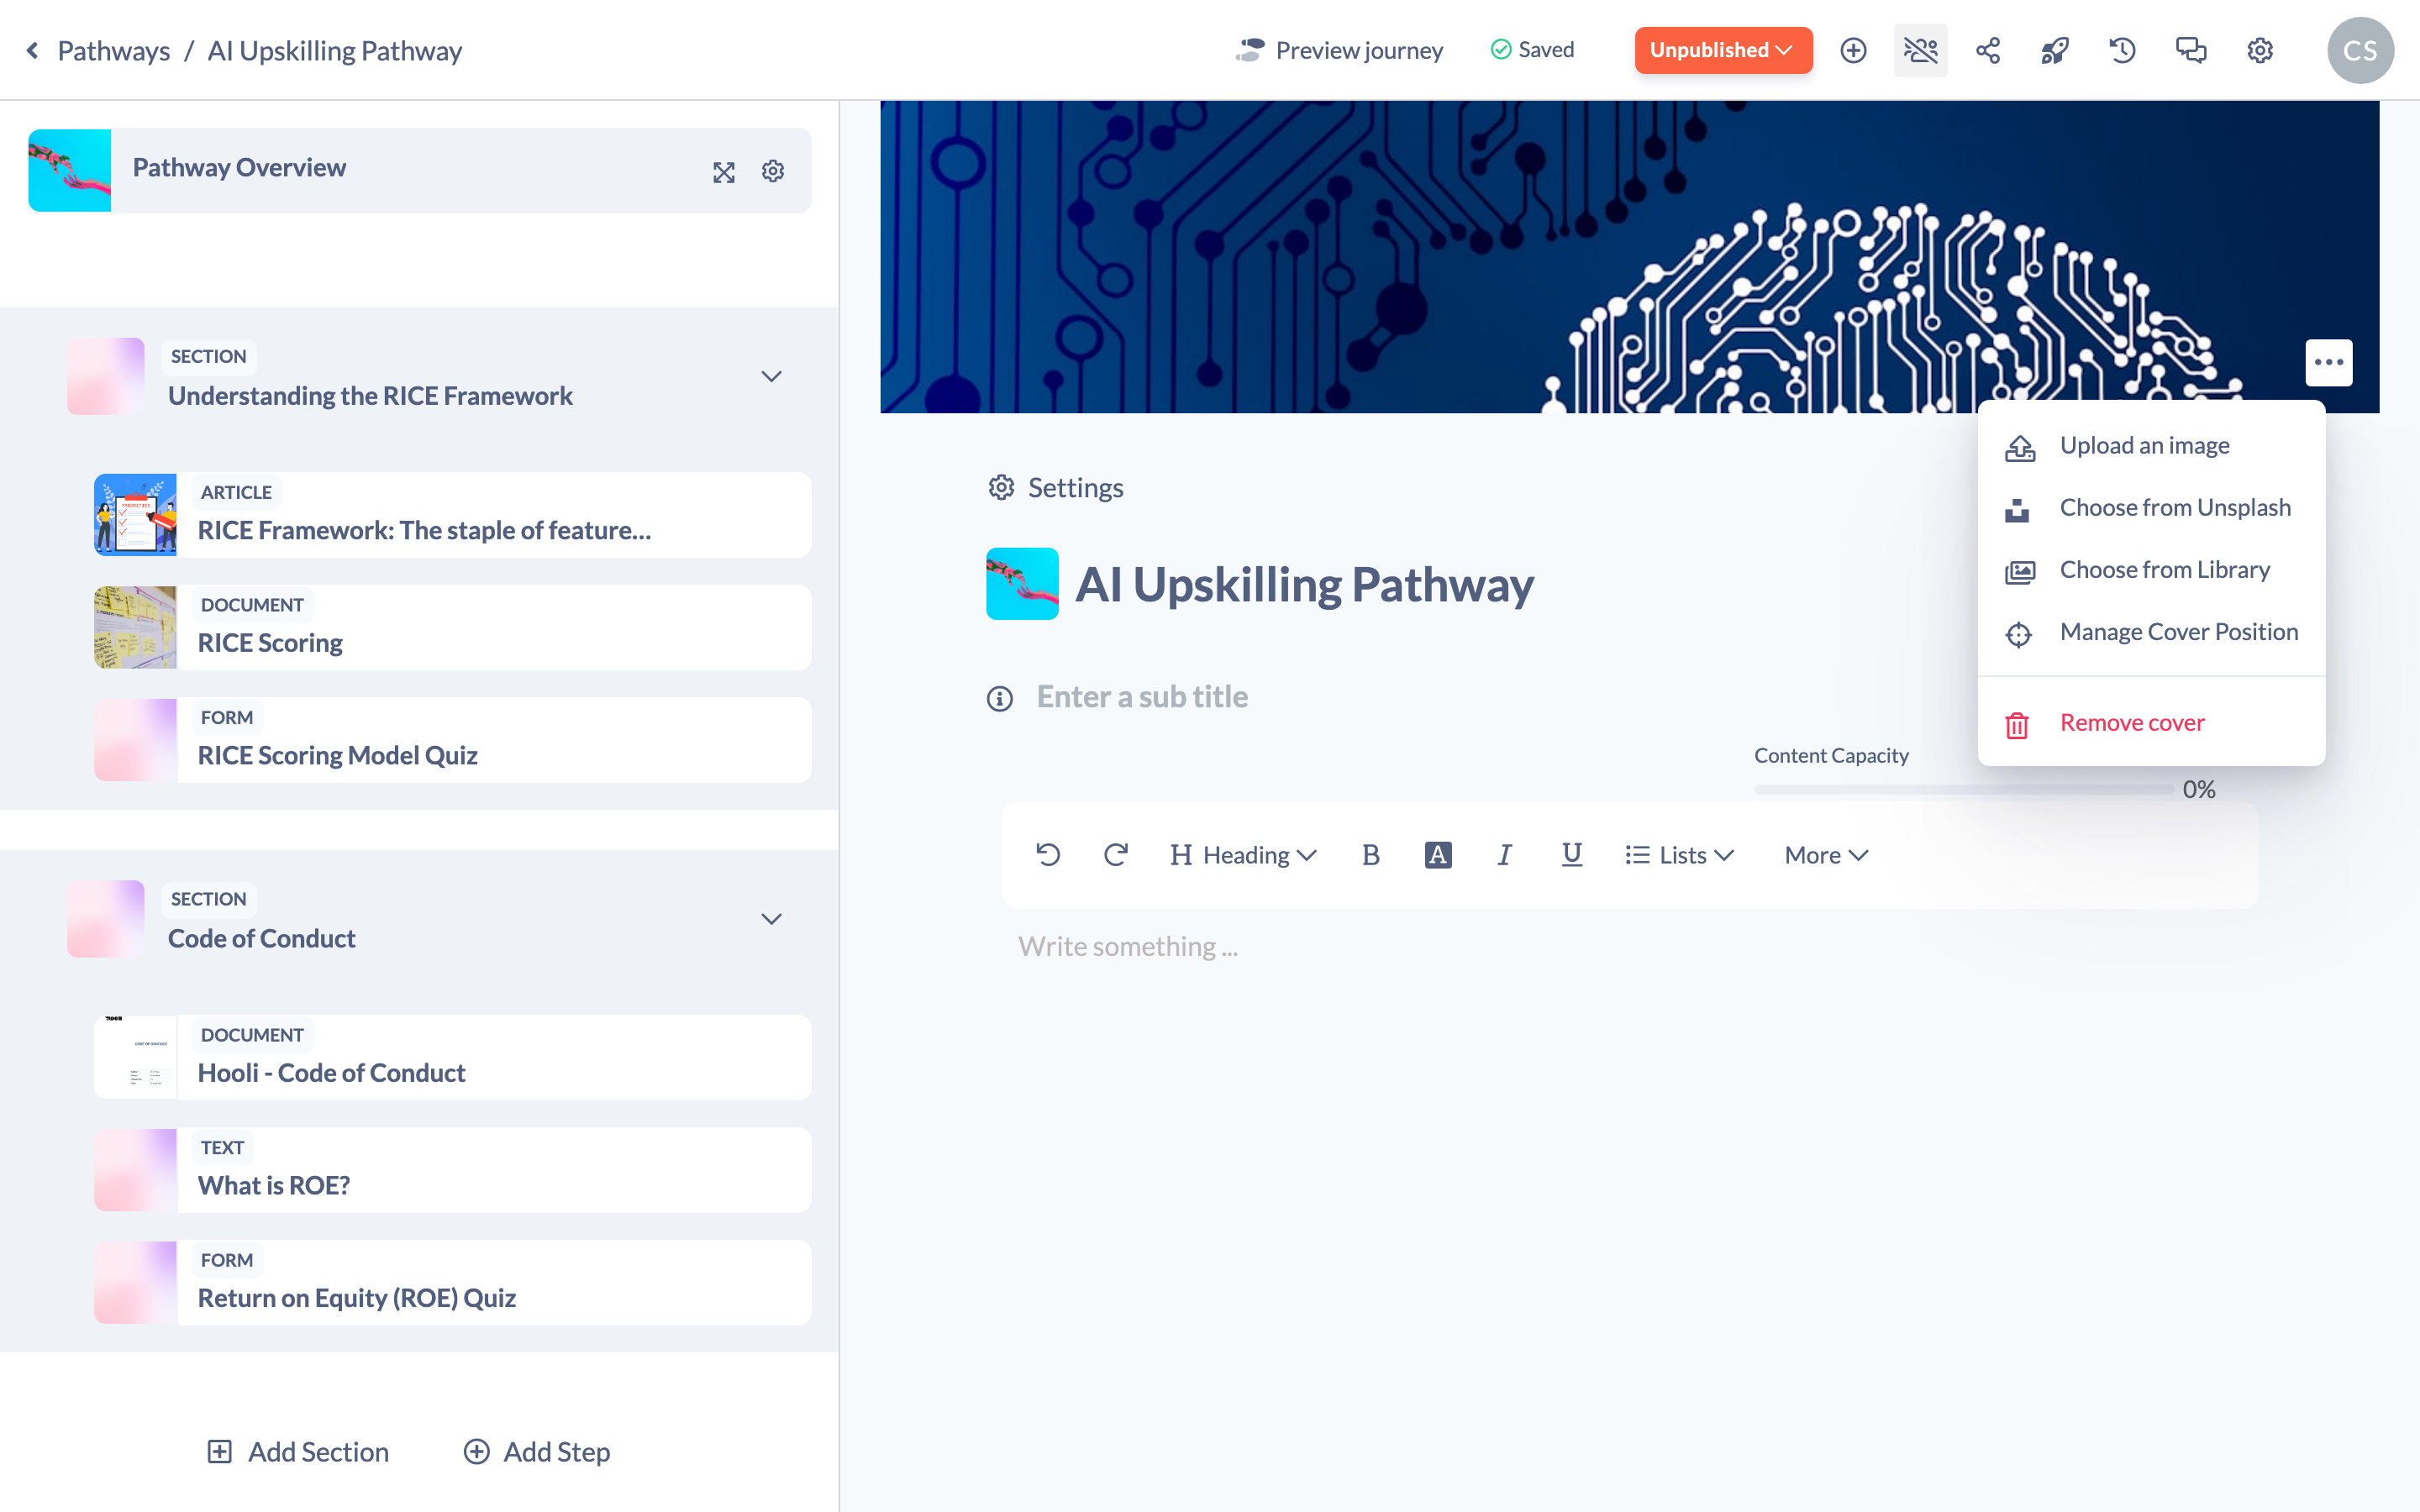
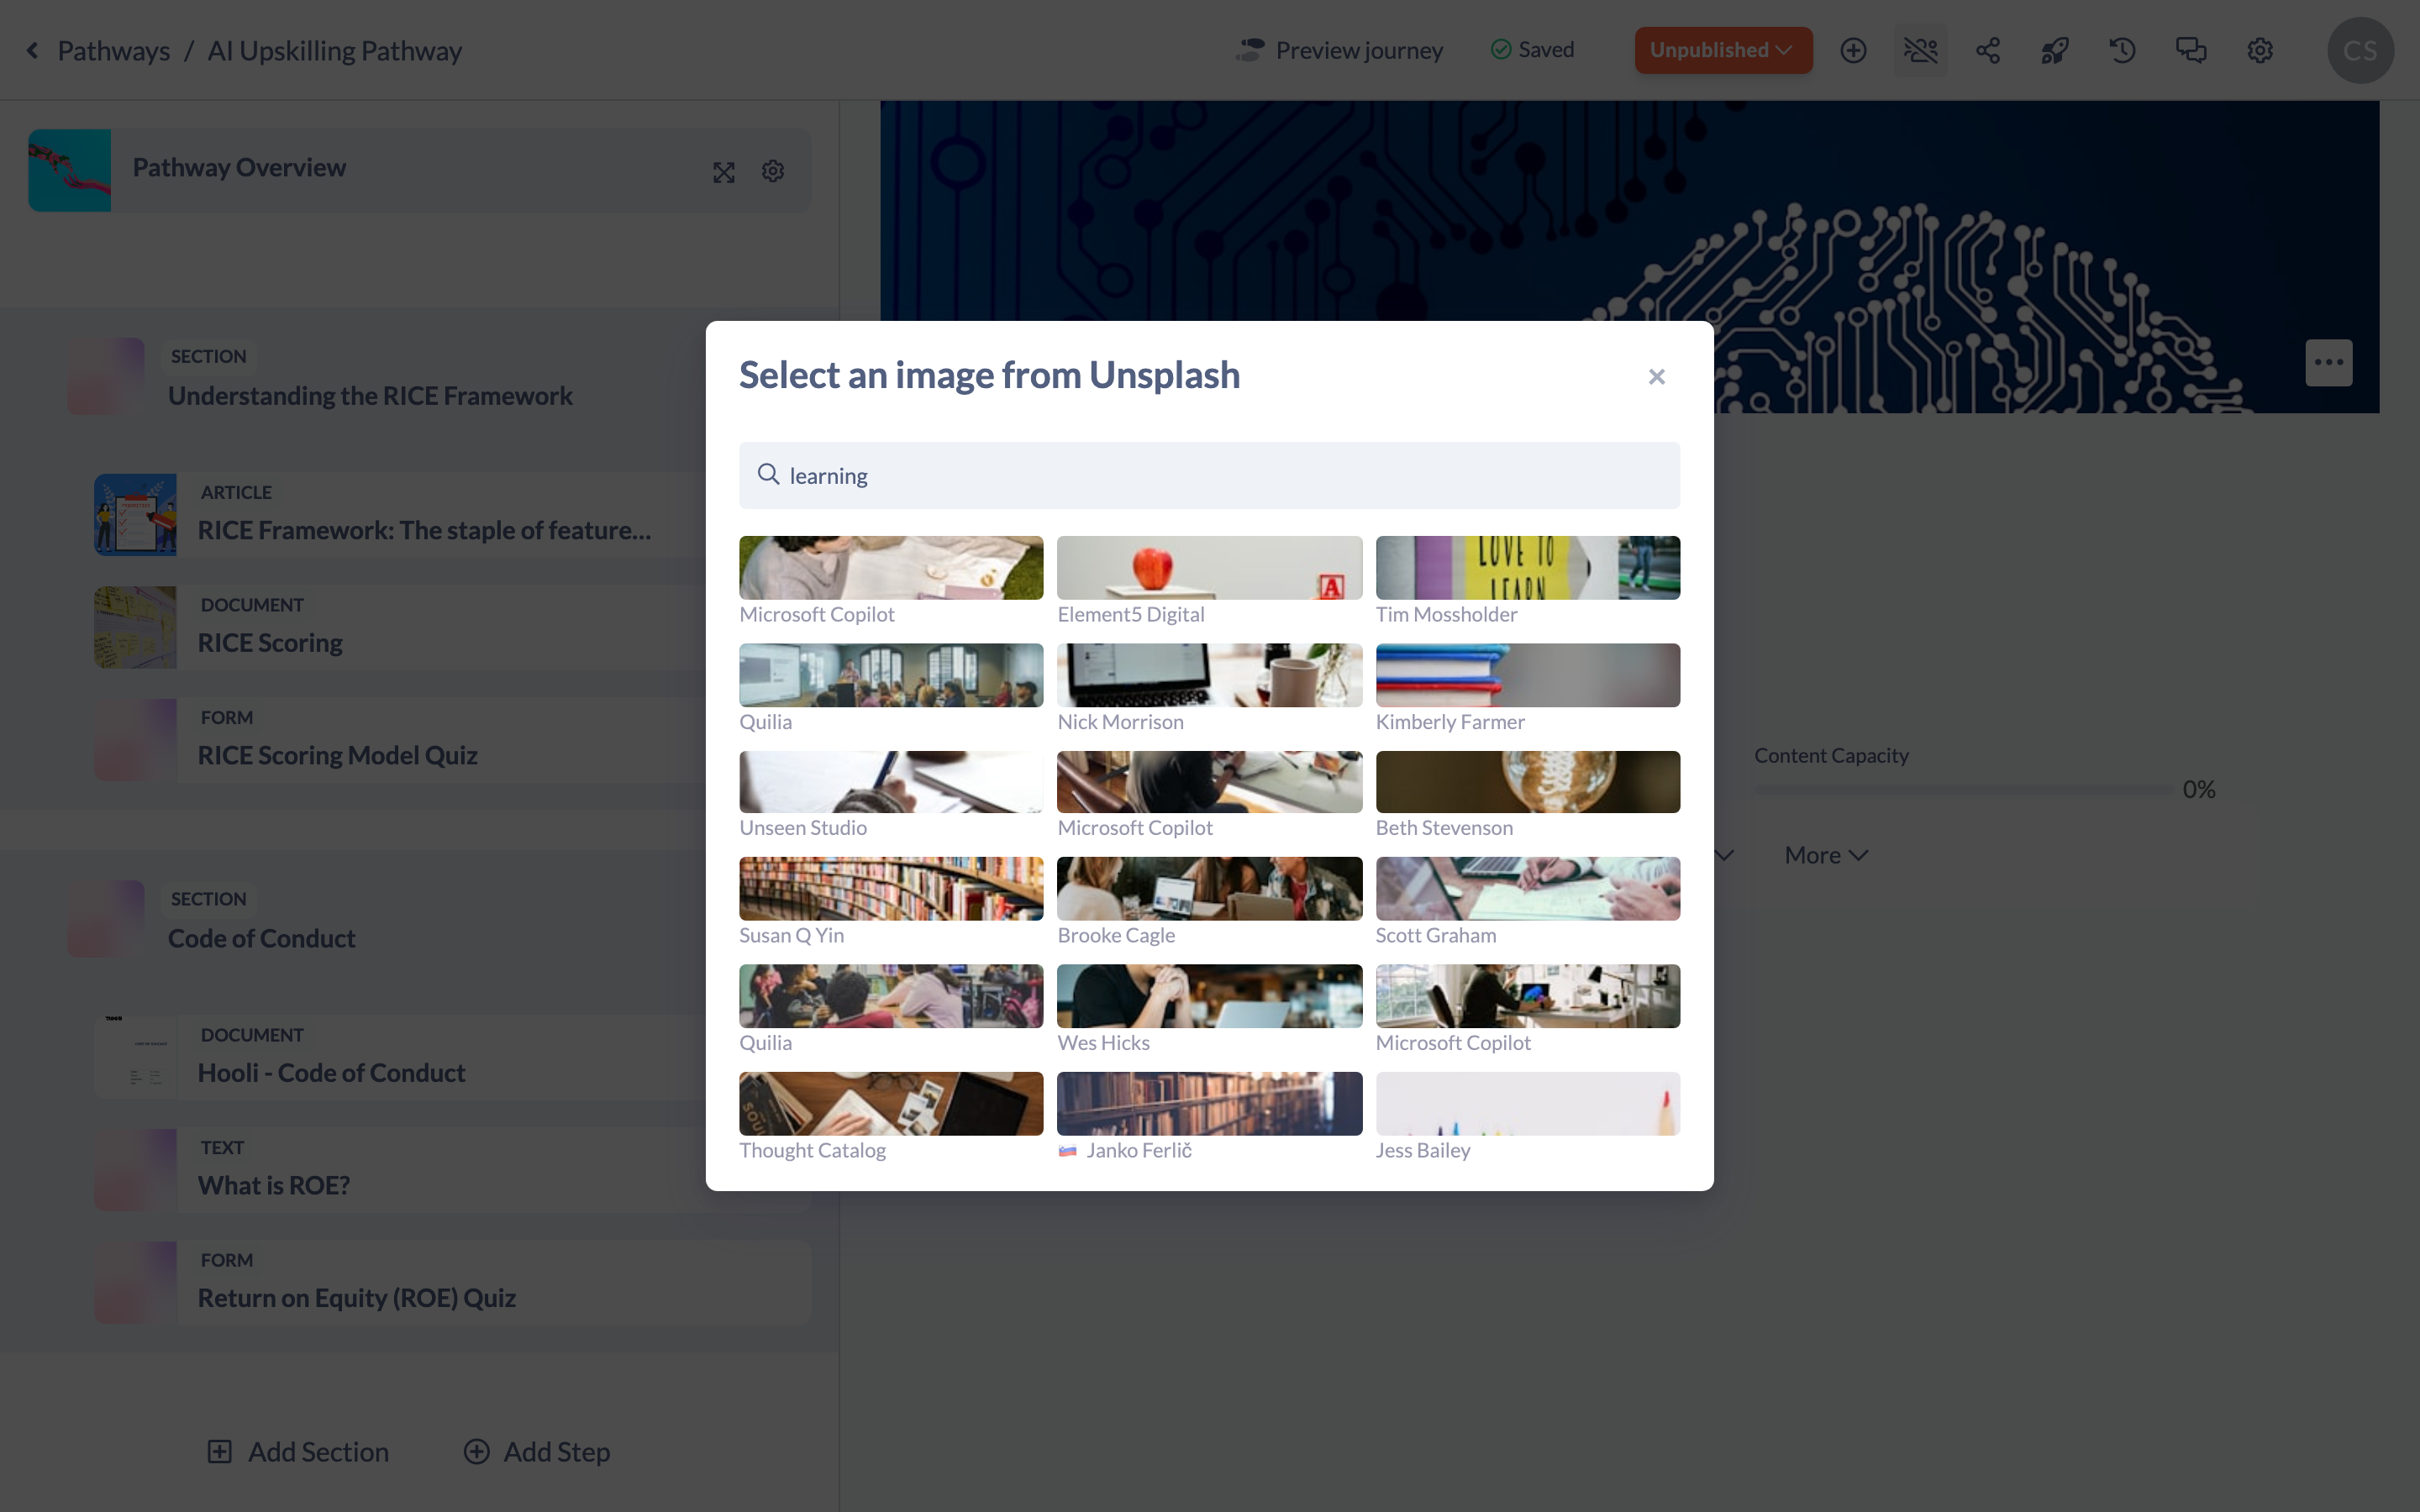
- Use the search bar to enter keywords that match your theme (for example nature, technology or teamwork).
- Browse the results and click an image to preview it.
- Select the image. SuperPath imports it automatically, so there's no separate upload step.
Tips for using Unsplash
- Keep it consistent. Use similar styles or colour tones across your platform for a cohesive look.
- Don't overcrowd. Choose images that complement the content rather than overwhelm it.
- Optimise for readability. If text sits over the image, pick a visual with minimal distractions so the text stays legible.
Who can do this
The Unsplash picker appears wherever SuperPath offers an image field, so anyone who can add or edit that item can use it. In practice that means the roles able to edit content, Pathways, banners and similar — Owners, Admins, Managers, Content Managers and Instructors. Employees and Restricted users, who don't edit this content, won't see the picker.
Updated on: 24/07/2026
Thank you!