
Adding a certificate to an event, learning or pathway
Adding a Certificate to an Event, Learning or Pathway
In this article:
- Overview
- How to add a Certificate
- Things to keep in mind
- FAQs
- Who can do this
Overview
A Certificate gives your learners formal recognition for completing a piece of learning, and SuperPath awards it automatically the moment they finish. You can attach a Certificate to an Event, a Learning (Library content) or a Pathway — the process is the same in each case. This guide walks through adding one while editing an existing Library Learning, but the same steps apply when you're building or editing an Event or Pathway.
How to add a Certificate
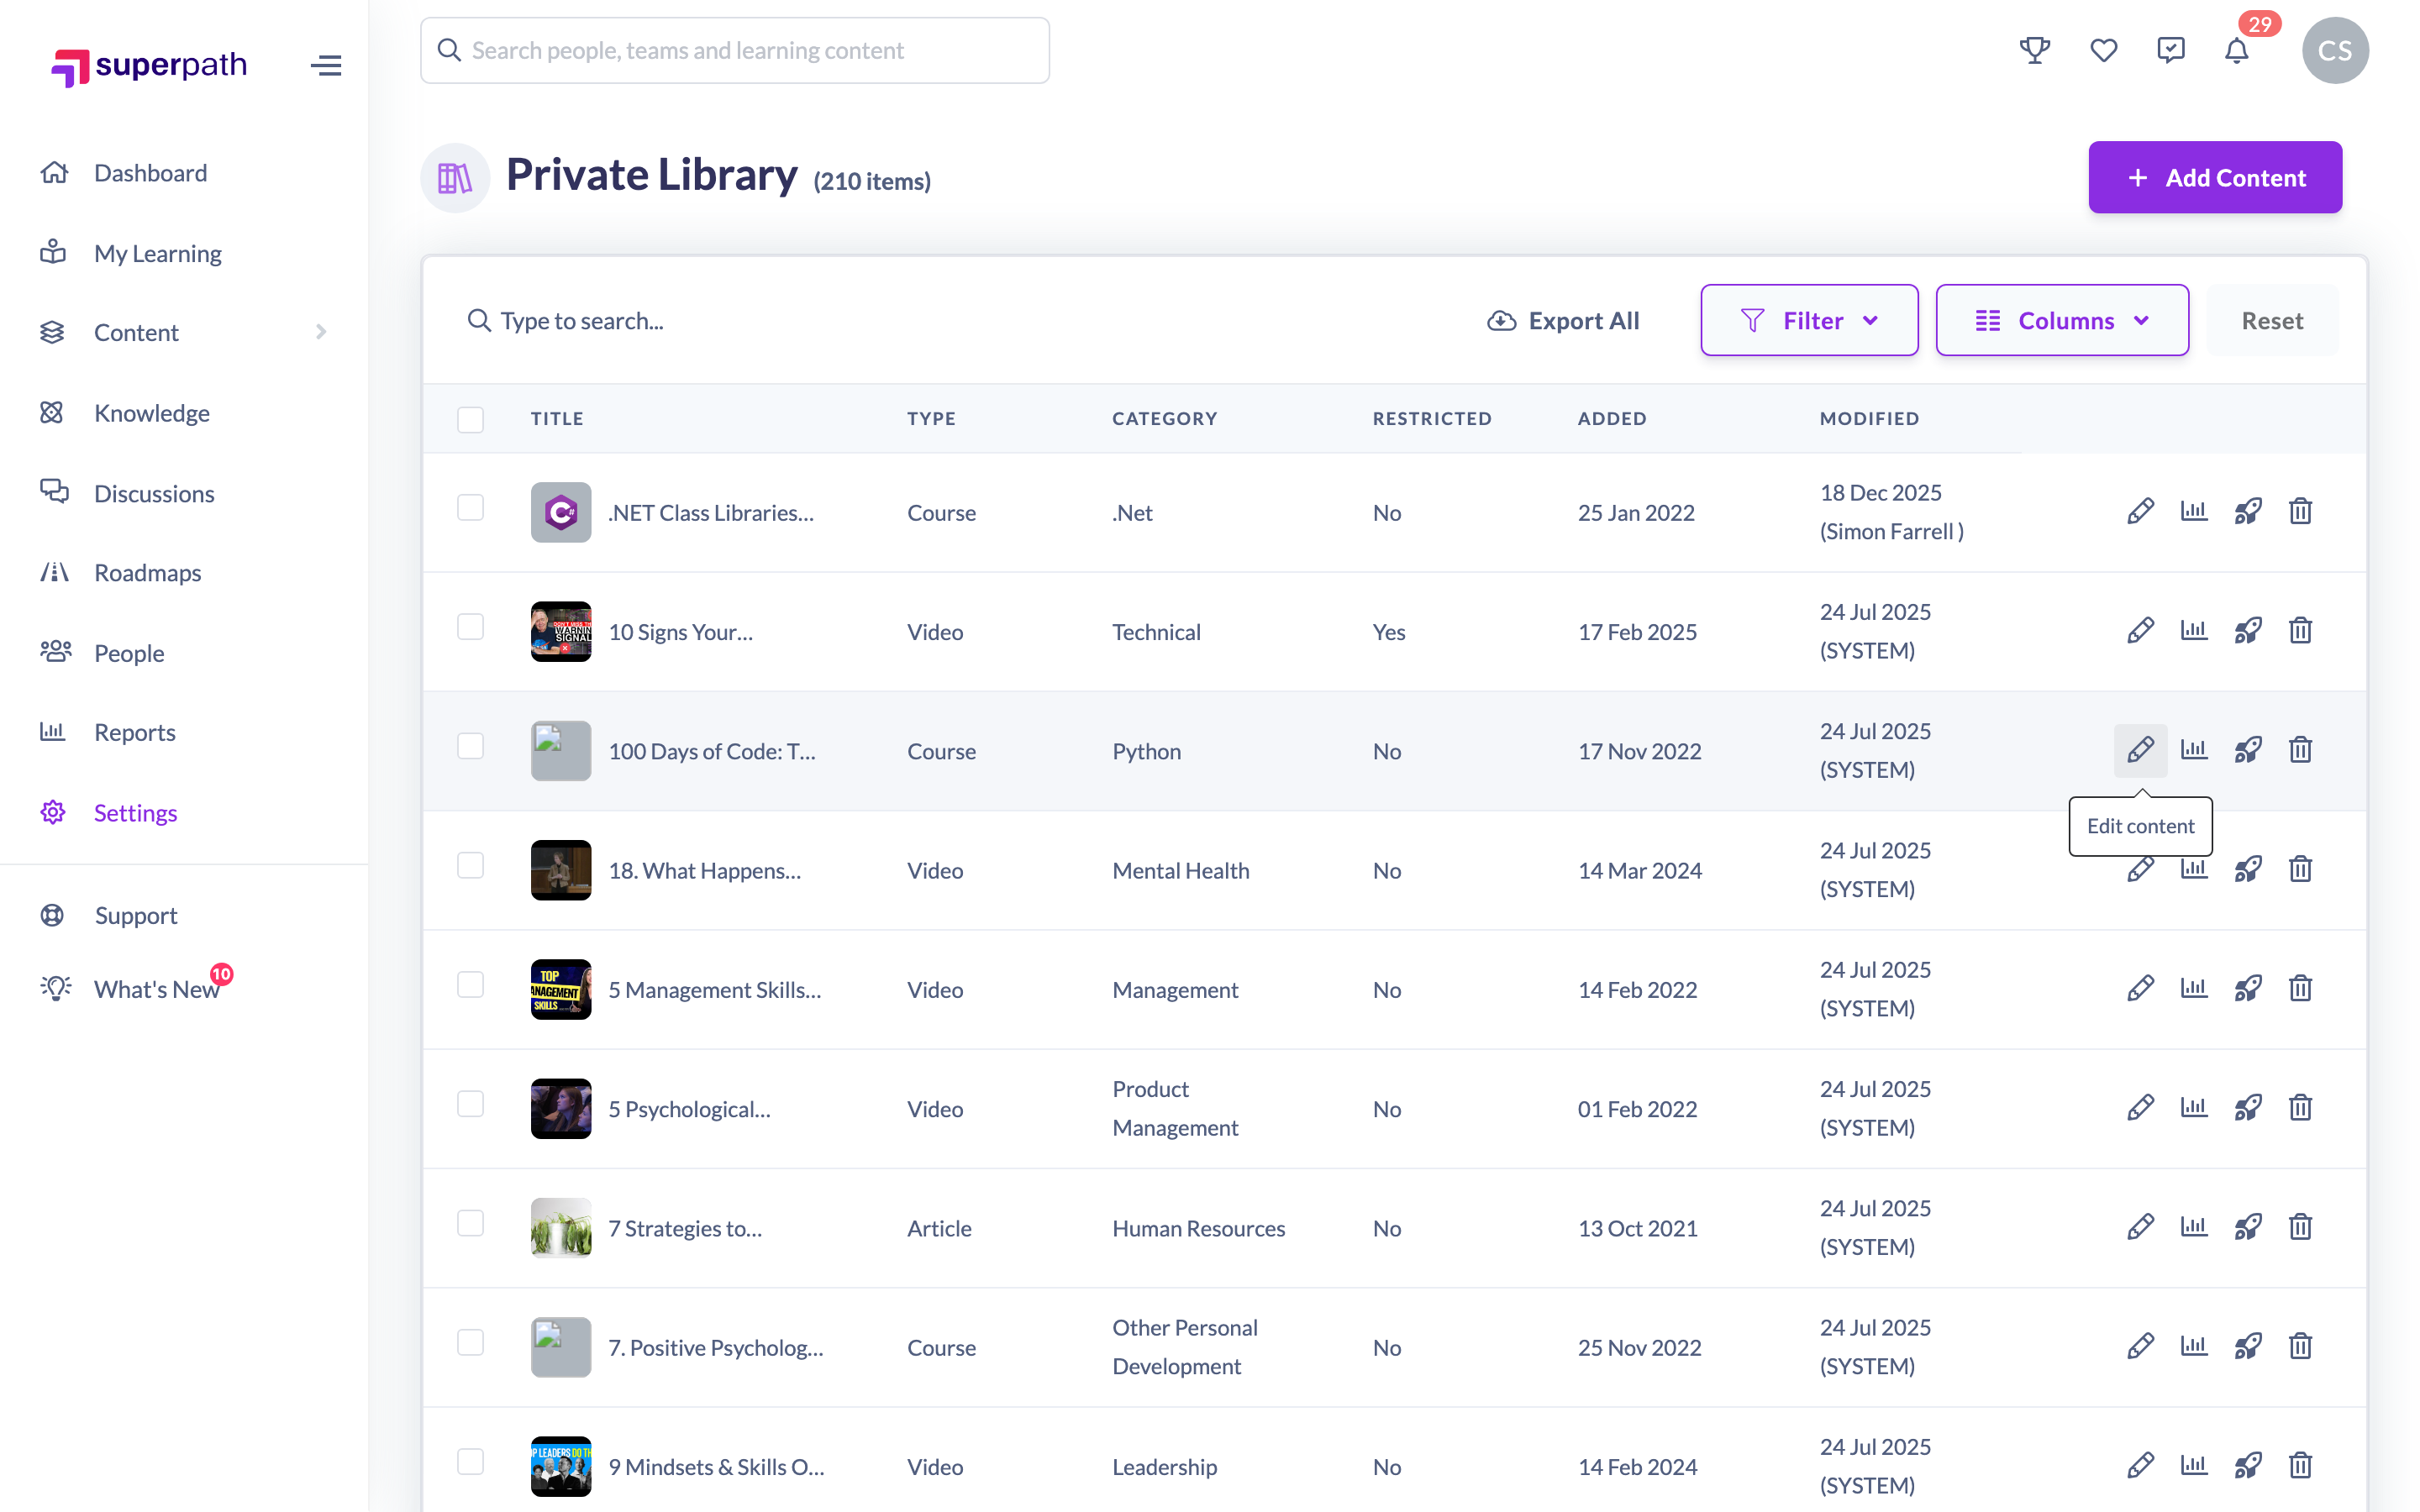
- Open the Event, Learning or Pathway you want to add a Certificate to. In this example we're editing an existing Learning, so click the edit (pencil) icon on the Learning.
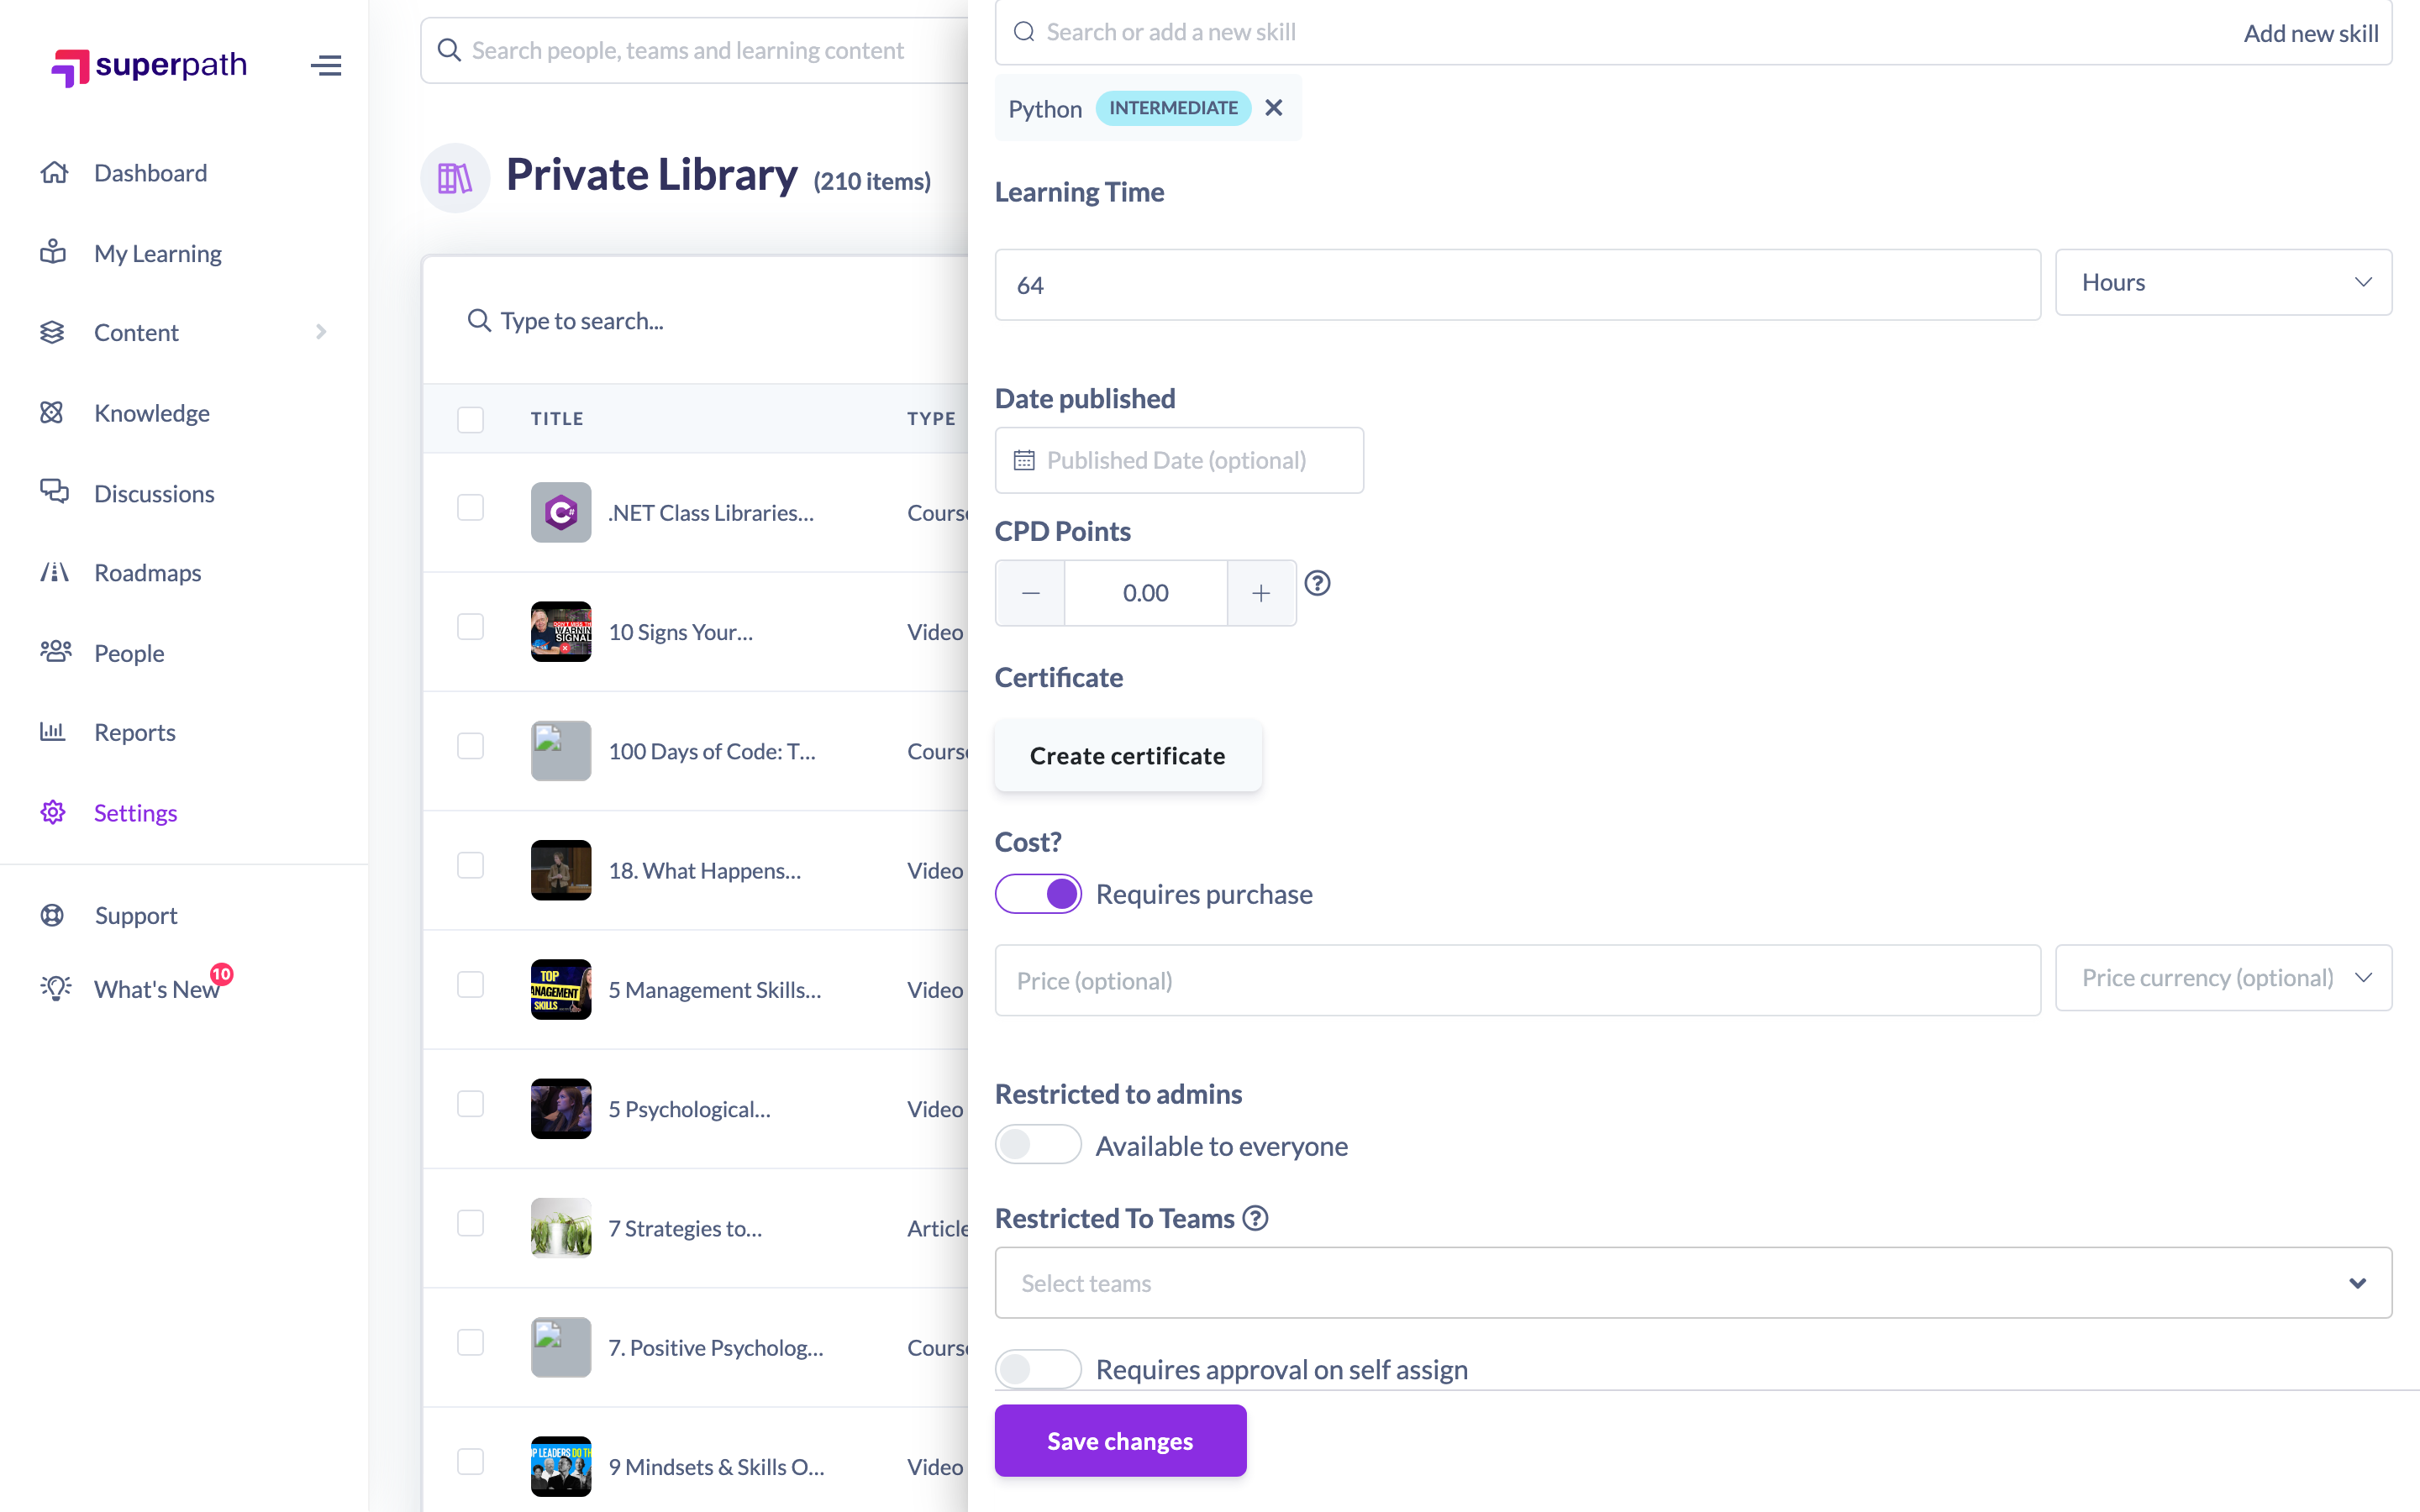
- Click Create Certificate.
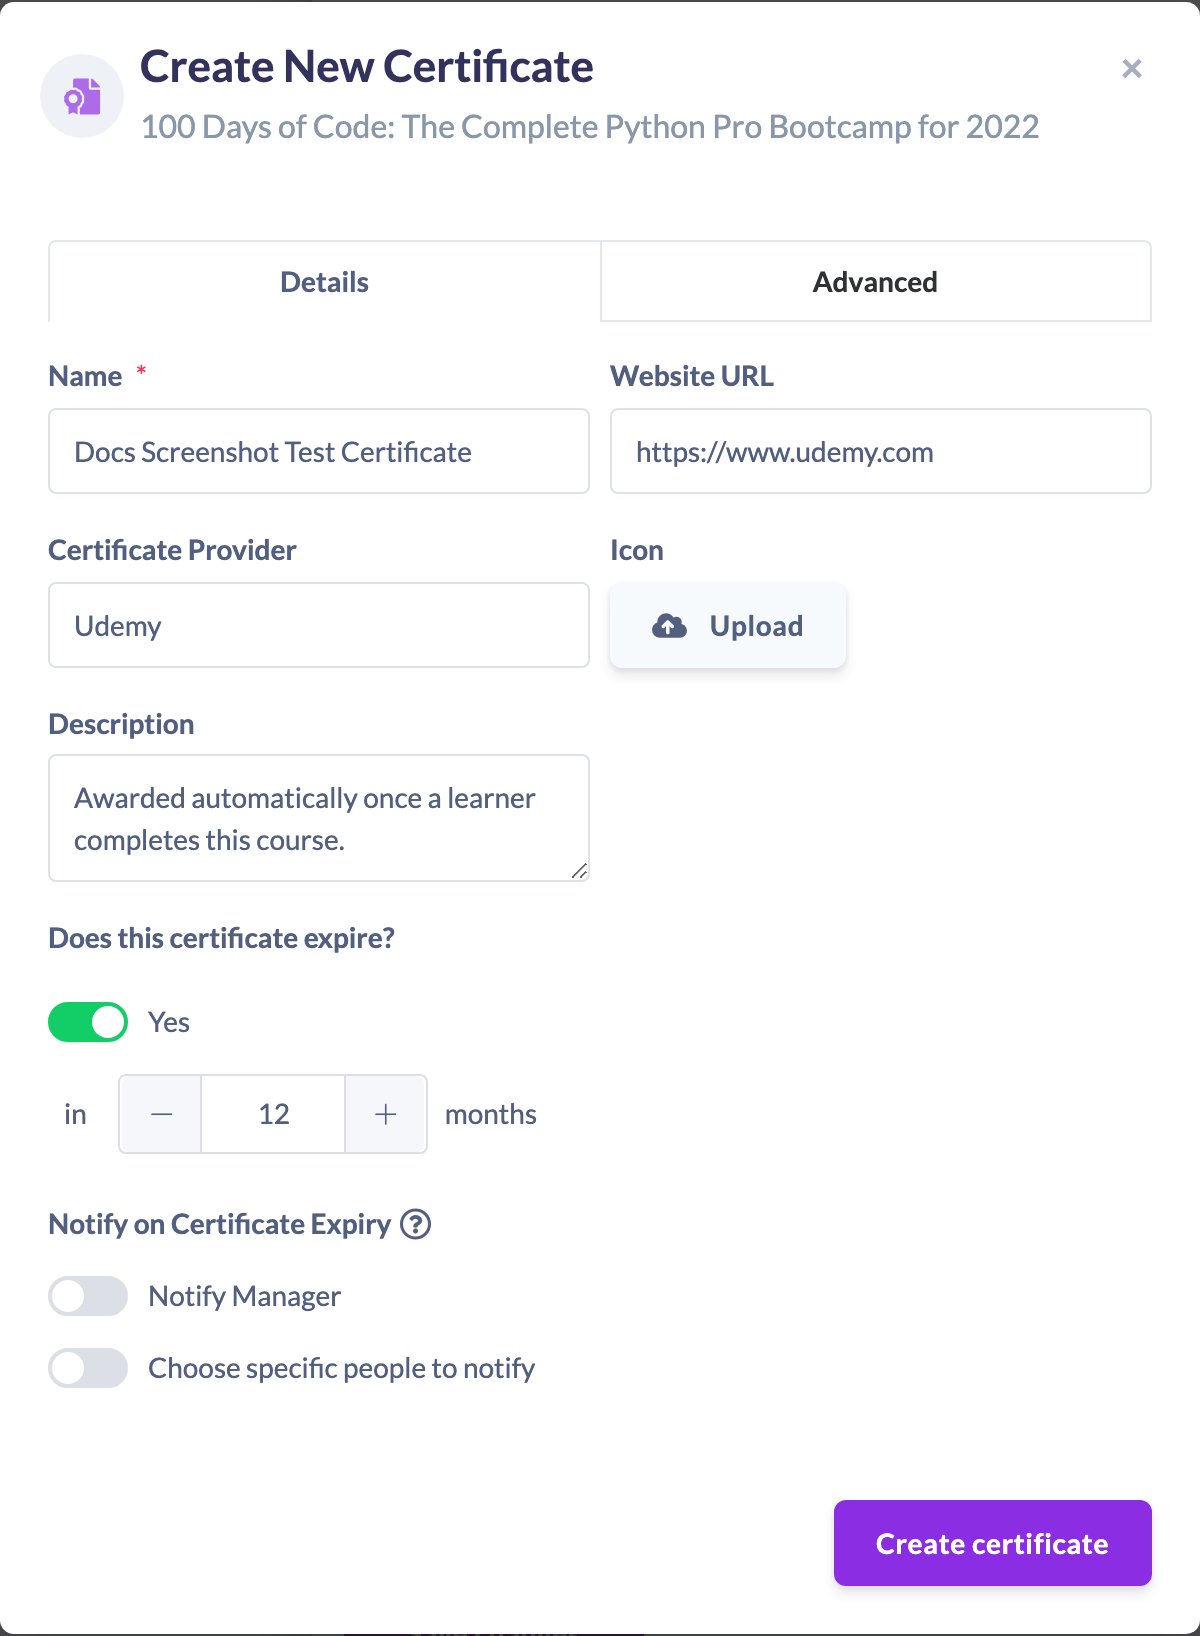
- On the Details tab, enter a Name for the Certificate (required).
- If the Certificate expires, turn on Does this certificate expire? and enter the number of months.
- Optionally fill in a Description, Certificate Provider, Website URL and an Icon image.
- If you turned on the expiry toggle, you can also choose who's notified before it lapses under Notify on Certificate Expiry — notify the learner's Manager, or choose specific people.
- Switch to the Advanced tab if you want to attach a file the learner receives once the Certificate is awarded — upload it under Certificate File. If you don't have a design ready, Download starter template beside that heading gives you a blank certificate to work from.
- Once you've uploaded a Certificate File, turn on Generate name on template to have SuperPath personalise it for each learner. You can then choose to print the certificate title, the date awarded and the score alongside the learner's name, each with its own font size and colour. The learner's name is always printed; the other three are optional.
- Use Preview certificate to render a sample PDF and check the text sits correctly on your design before saving. Nothing is saved or awarded by previewing.
- Click Create certificate.
- Click Save changes.
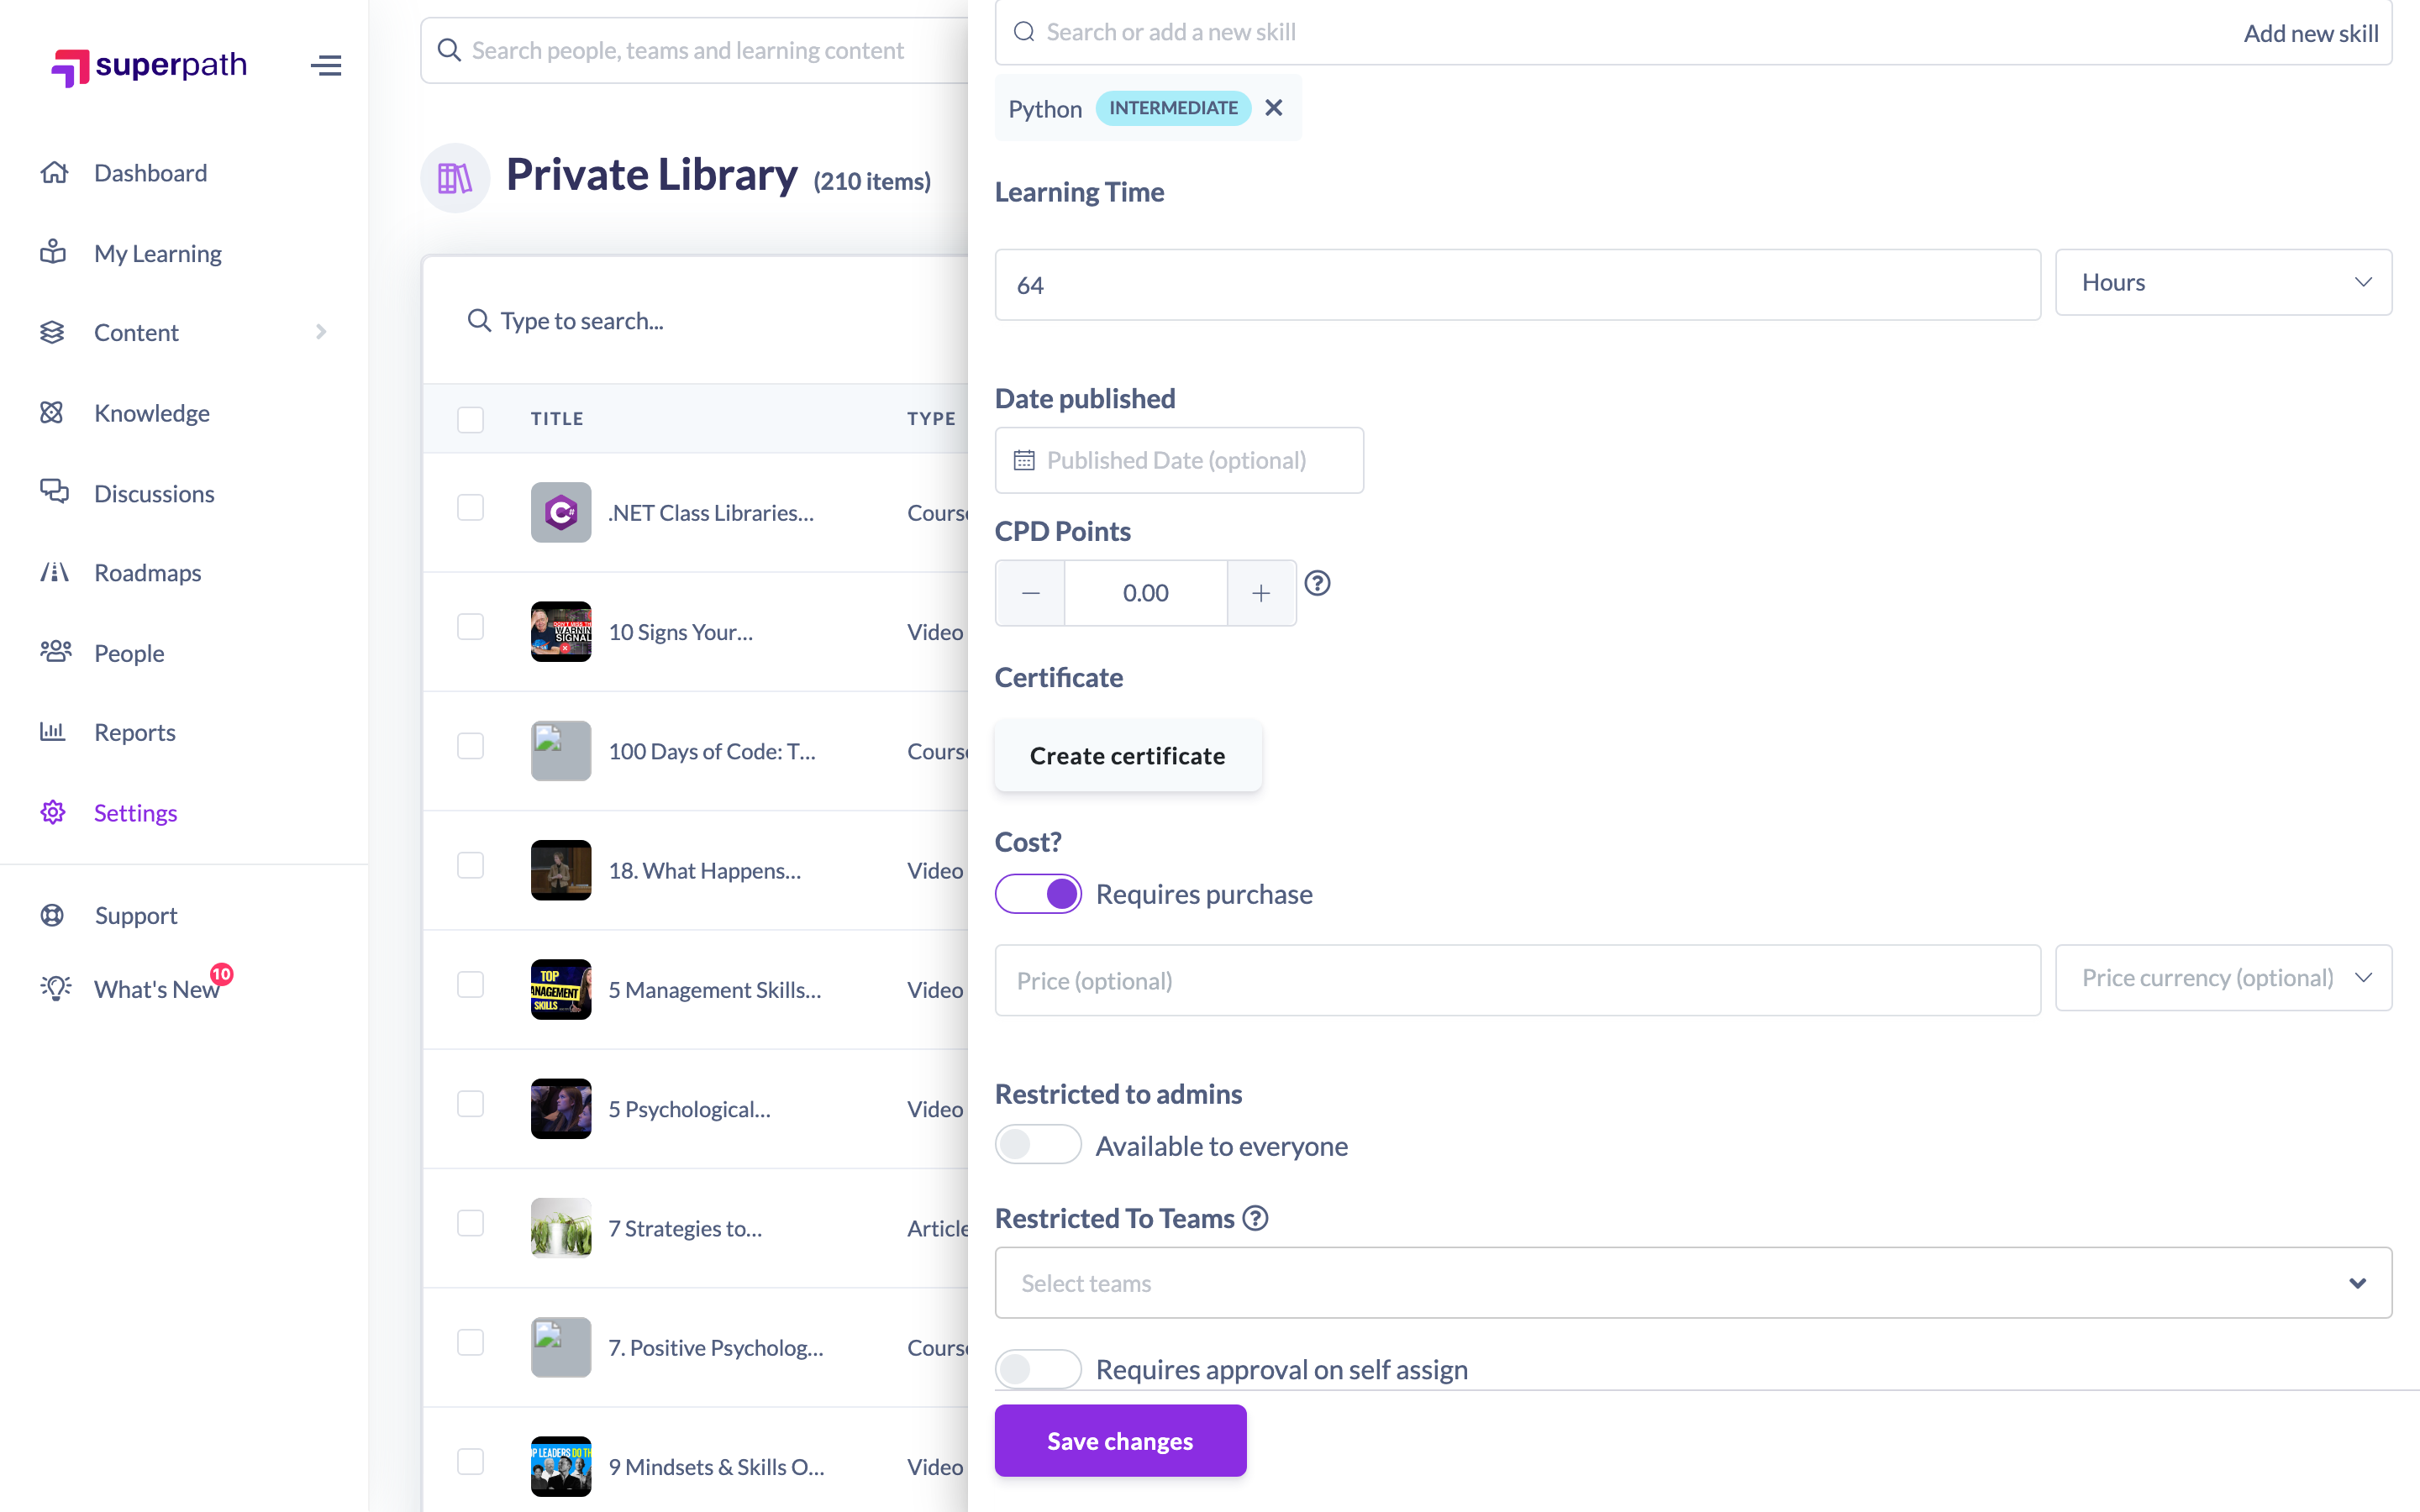
Good to know: Once attached, the Certificate is awarded automatically when a learner completes the Event, Learning or Pathway — it appears on their profile and can be viewed and downloaded from there.
Attaching a Certificate the other way round
The steps above start from the learning. You can also work from the Certificate: open Settings → Features → Manage Certificates, create or edit a Certificate, and use Select Learning at the top of the Details tab to pick the Content, Pathway or Event it should be awarded for.
That route is useful when the Certificate already exists — you're reusing a "First Aid" Certificate on a second course, say — or when you're setting up several Certificates in one sitting. The result is identical either way.
Select Learning is only available to Owners and Admins. Managers and Content Managers can create Certificates but won't see the selector, so they should attach the Certificate from the learning itself as described above.
Note: If you attach a Certificate to a learning that already has one, SuperPath warns you but still lets you save. A learning with two Certificates attached will award whichever it finds first, so it's worth clearing the old one.
Things to keep in mind
- The Certificate form has two tabs: Details (the learning, name, expiry, description, provider and icon) and Advanced (the Certificate File and its template options).
- Only the name is required to create a Certificate — the expiry, description, image, provider details and Certificate file are all optional.
- Set an expiry period (in months) only if the Certificate should lapse and need renewing; otherwise leave the expiry toggle off.
- The file you add to the Certificate File box is the one attached to the learner's record once the Certificate is awarded.
- On a Pathway, the Certificate is added from the Pathway settings panel rather than the edit screen shown here, but the Certificate details are the same.
- Printing the score only produces anything for SCORM and Mindsmith courses, since nothing else records one. A Certificate awarded for a Pathway or Event never carries a score.
FAQs
Is adding a Certificate different for Events, Learnings and Pathways?
No — the Certificate details you fill in are identical. You just reach the Create Certificate button from the item you're editing (an Event, a Library Learning, or a Pathway's settings).
When is the Certificate awarded?
Automatically, the moment the learner completes the Event, Learning or Pathway it's attached to. There's no manual step.
Can I reuse an existing Certificate?
Yes. Open Settings → Features → Manage Certificates, edit the Certificate you want to reuse, and pick the learning under Select Learning on the Details tab.
Can one Certificate be attached to several learnings?
A Certificate points at one learning at a time. Pointing it at a different one replaces the link rather than adding a second.
What does the learner's certificate actually look like?
If you've uploaded a template and switched on Generate name on template, they get your design with their name printed on it, plus any of the certificate title, date and score you chose. Use Preview certificate to see it before you save — see Custom Certifications in SuperPath.
Who can do this
Owners, Admins, Managers and Content Managers can create Certificates. Instructors, People Managers, Employees and Restricted users cannot — they can only view existing Certificates. On the API, creating a Certificate requires the create permission on Certificate; Owners, Admins, Managers and Content Managers hold manage on Certificate, which includes create.
Updated on: 11/08/2026
Thank you!