Create Knowledge Categories
The purpose of this article is to provide a step-by-step guide for creating new knowledge categories within the system. It explains how to name and describe the category, assign it as a subcategory if needed, add an image, and control its visibility on the Knowledge Homepage. This ensures effective organisation and easy navigation of knowledge resources.
- From your Dashboard https://app.superpath.io/dashboard.
- Click "Settings" from the menu.
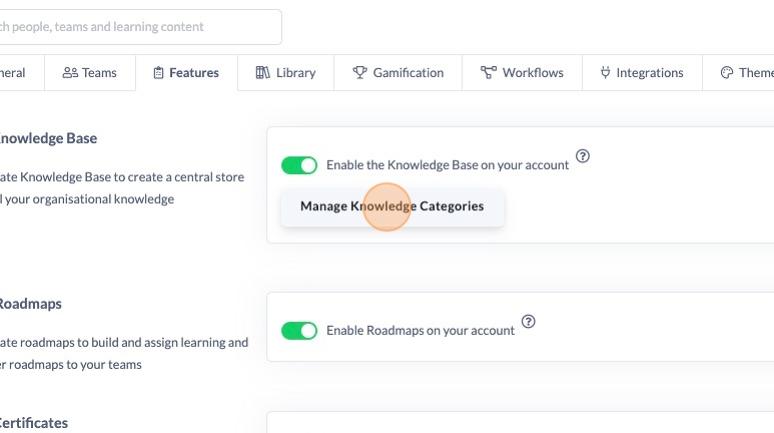
- Select "Features" from the settings options.

- Click "Manage Knowledge Categories"
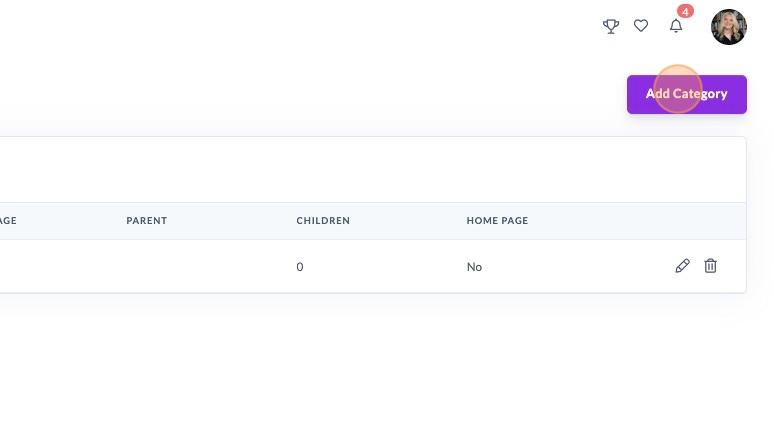
- Click "Add Category"
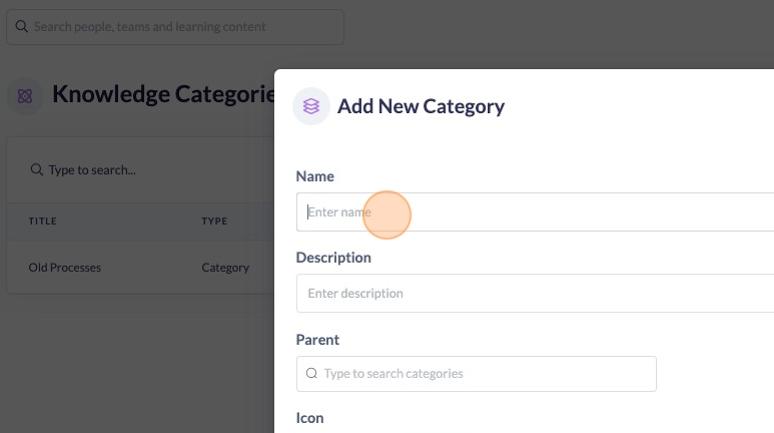
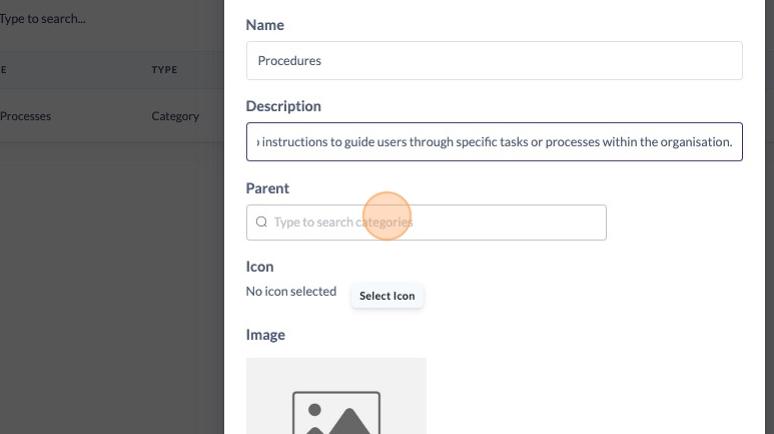
- Click the "Enter name" field.
Type the desired name for your new category.
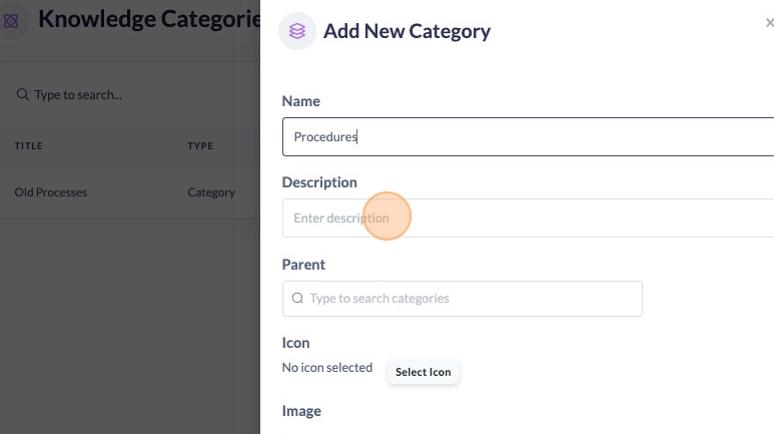
- Click the "Enter description" field.
Type a brief description for your new category.
- Click the "Type to search categories" field.
If this is a subcategory, select a parent category from the list of existing categories.
- Click on the "No image" placeholder.
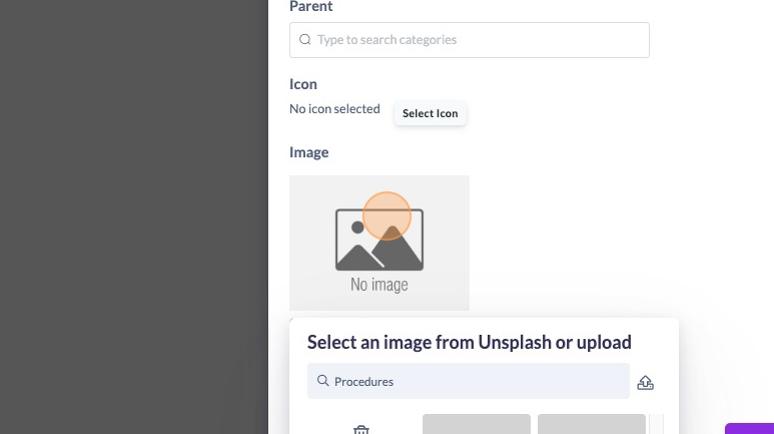
- Choose one of the following options:
- Search for an image on Unsplash.
- Click the upload icon to use your own image.

- If uploading, click "Browse", locate your file, and select it.

- Once selected, the image will update to display your chosen option.

- If you want the category to appear on your Knowledge Homepage, toggle the visibility option until it turns green.
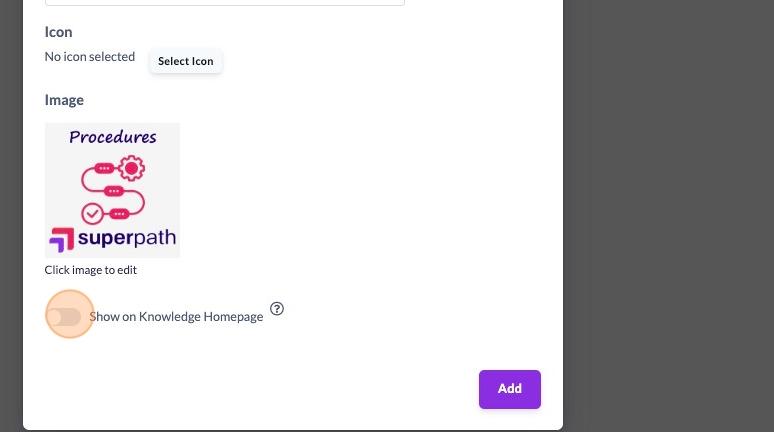
- Click "Add" to save and complete the process of adding your new category.

Updated on: 13/02/2025
Thank you!