
Creating a Knowledge Article
Creating a Knowledge Article
In this article:
- Overview
- Create a new article
- Add your title and content
- Set the category and visibility
- Publish your article
- Things to keep in mind
- FAQs
- Who can do this
Overview
Knowledge Articles let you document processes, policies and how-to guides in one place so your learners can find the answers they need. Creating an article is quick: you add a title and content in the editor, choose a category, set how visible the article should be, and publish it when you're ready. This article walks you through the whole process.
Prefer to watch? Here's a quick walkthrough:
Create a new article
- In the sidebar, go to Knowledge.
- On the Knowledge hub, click Manage Articles.
- Click Create article. A new, untitled article opens in the editor ready for you to fill in.

Good to know: The Create article button also offers an Import option, which lets you generate articles from uploaded files (PDF, DOC, DOCX, TXT or MD) instead of starting from scratch.
Add your title and content
- Click the Enter a Knowledge article title field at the top of the editor and type a name for your article.
- (Optional) Add a subtitle that summarises the purpose of the article.
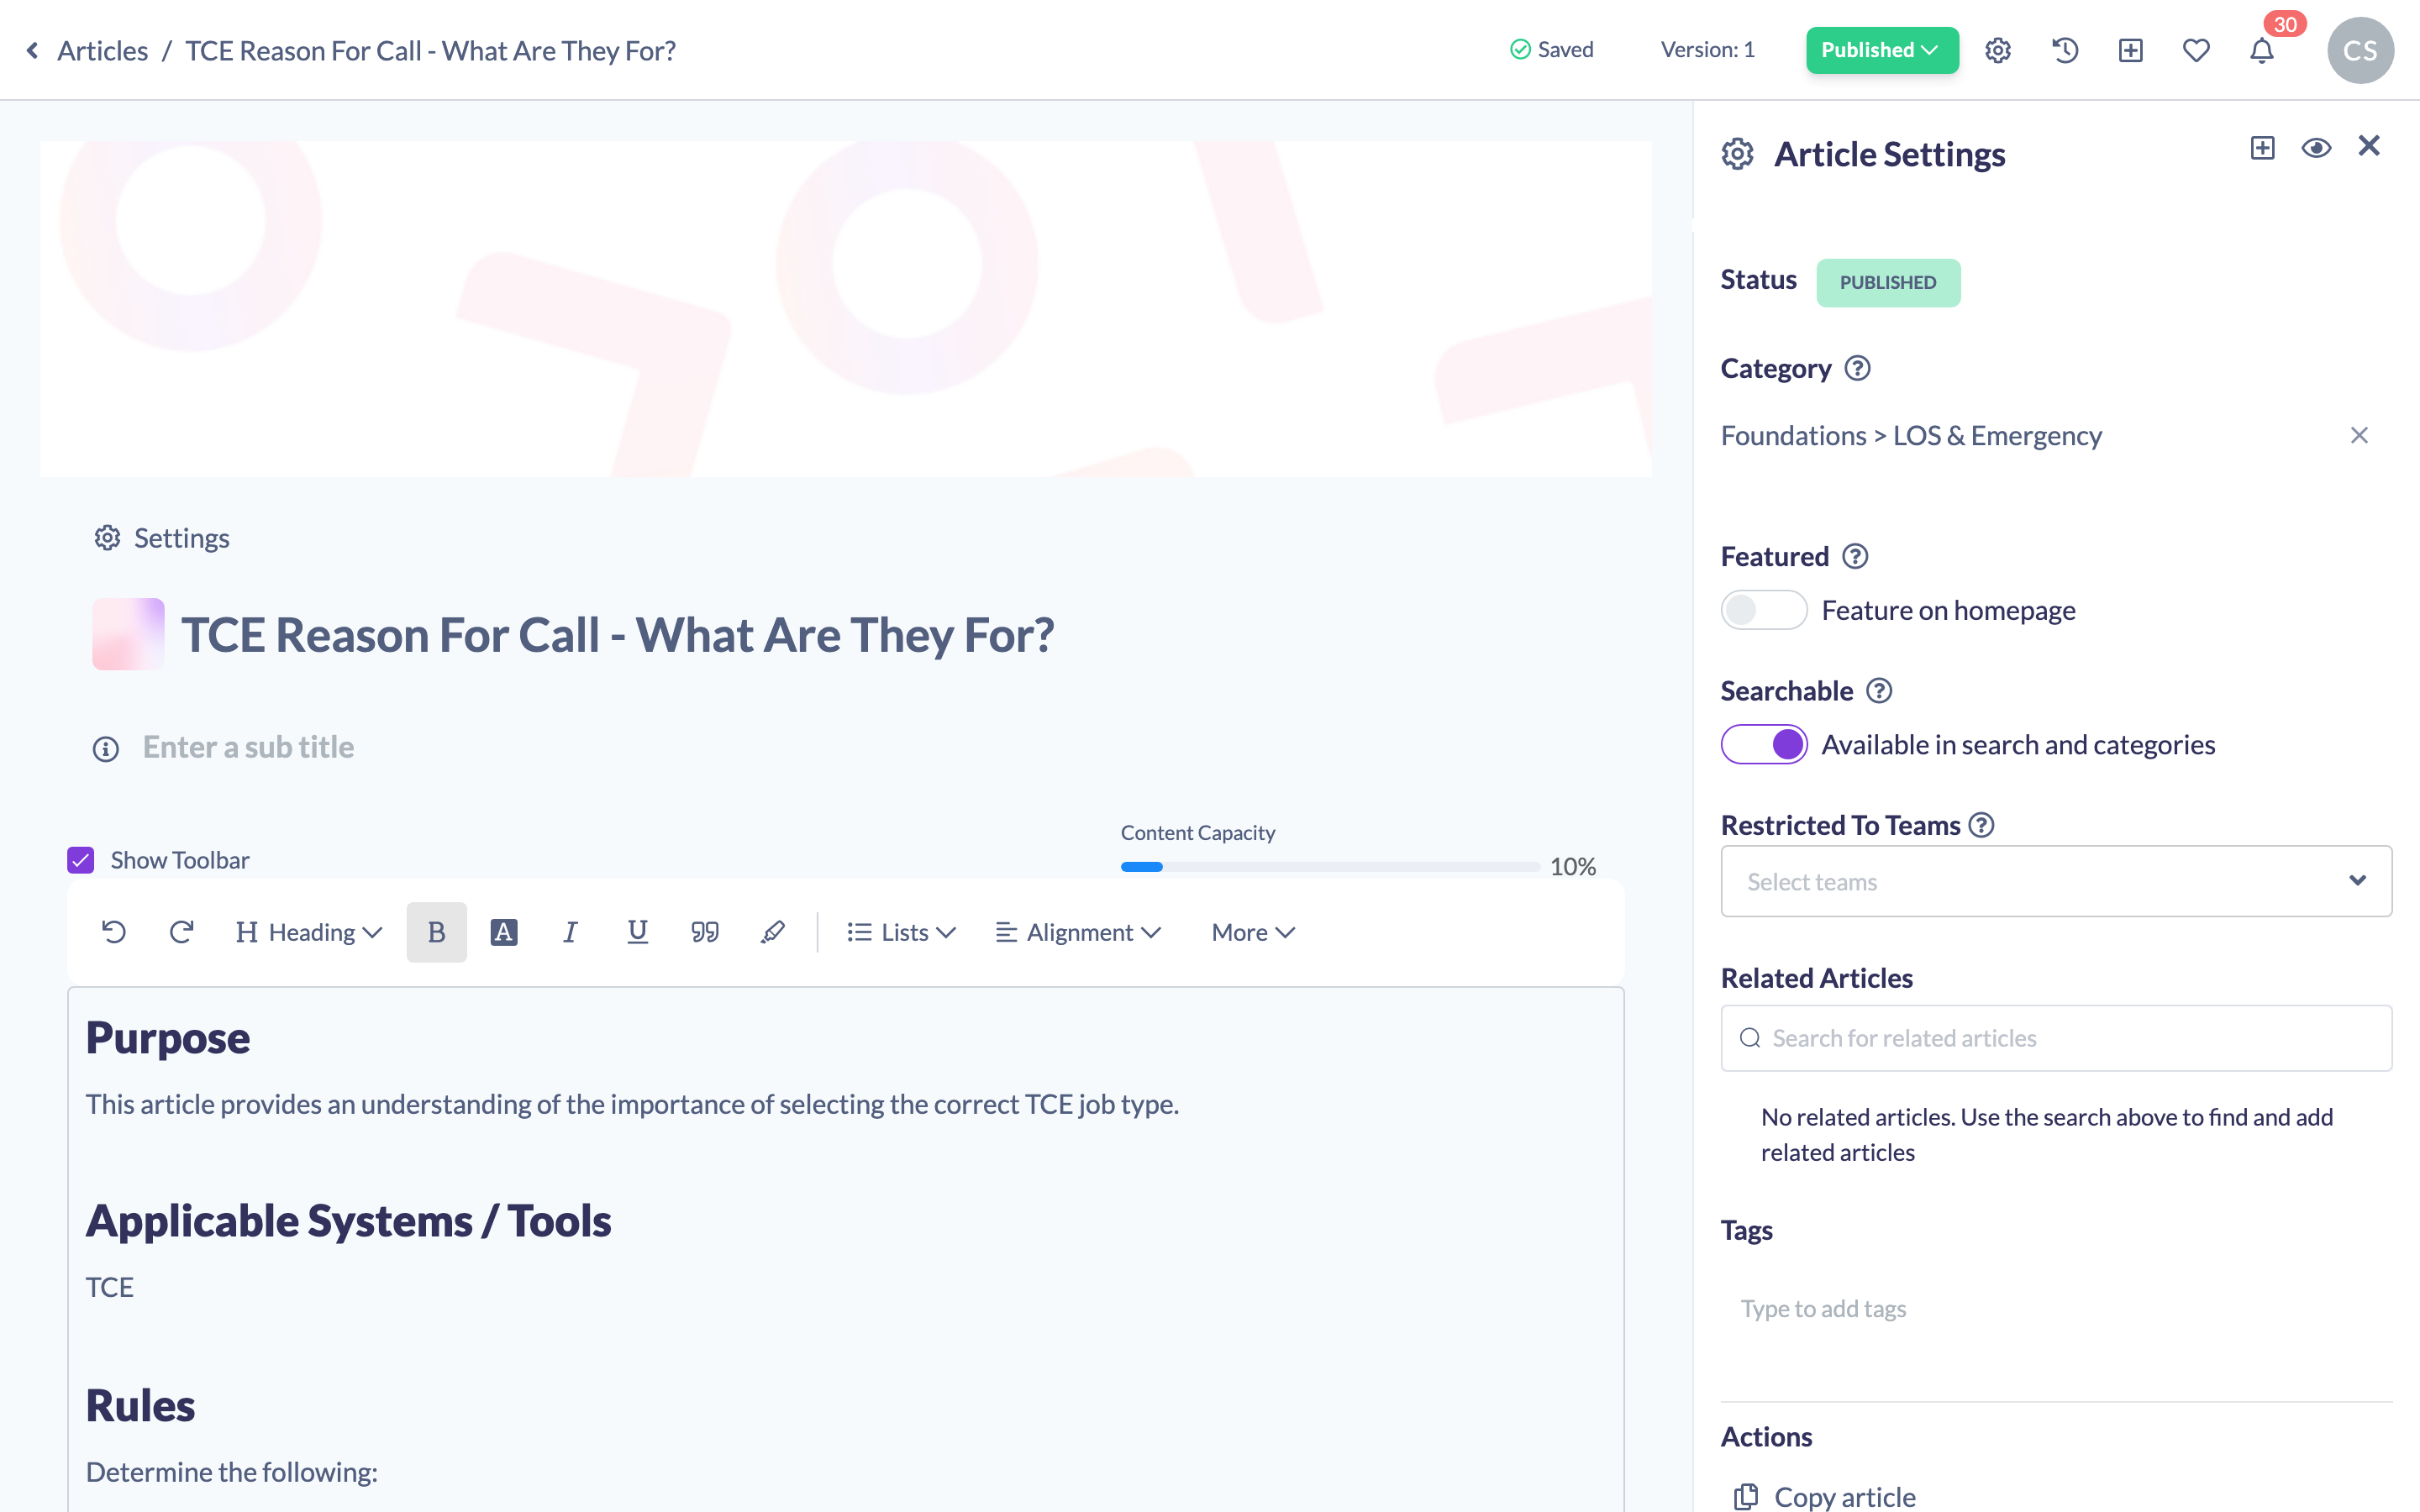
- Click into the article body and type or paste your content. Your changes save automatically as you work — you'll see the saving indicator in the top navigation.
Set the category and visibility
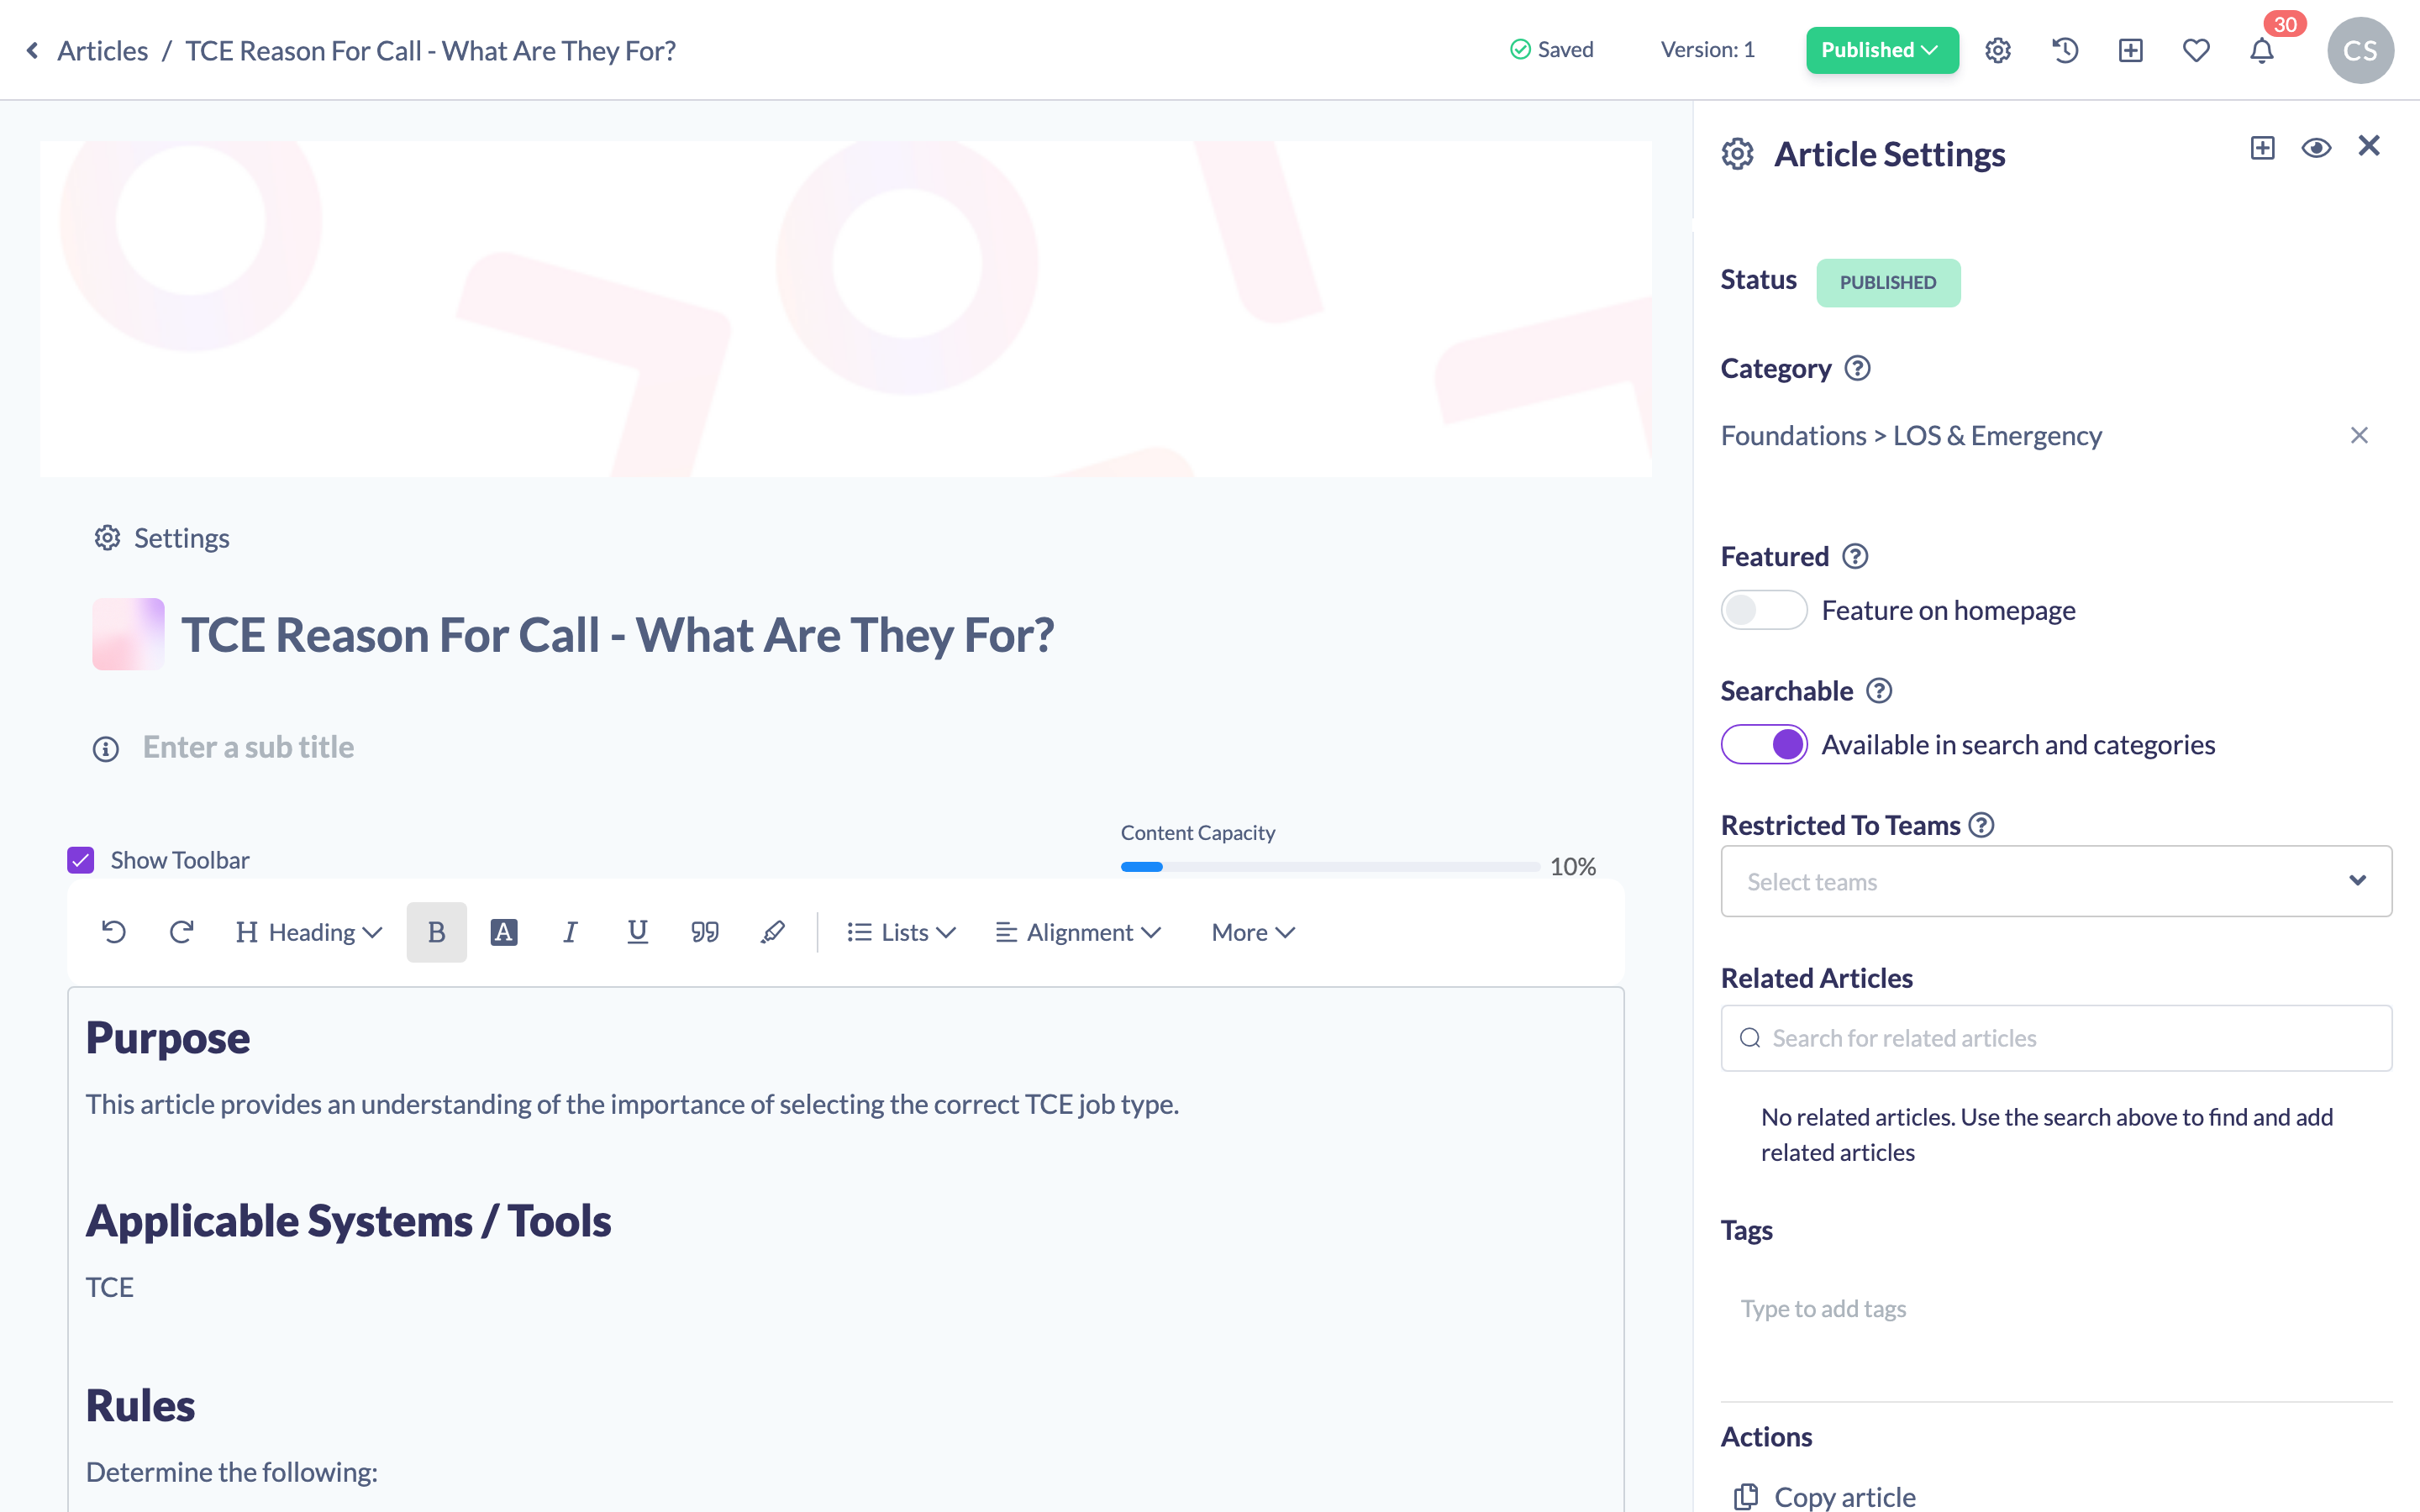
- In the top navigation of the editor, click the cog icon (tooltip Settings) to open the Article Settings panel on the right.
- In the Category section, search for and select the category the article should sit under. (If the category doesn't exist yet, an Owner or Admin can create it first — see Create Knowledge Categories.)
- Use the panel's toggles to control how the article appears — for example whether it is searchable, or featured on the Knowledge Homepage. Choices in this panel save automatically. For detail, see How to Make a Knowledge Article Searchable and How to Feature a Knowledge Article on the Homepage.
Publish your article
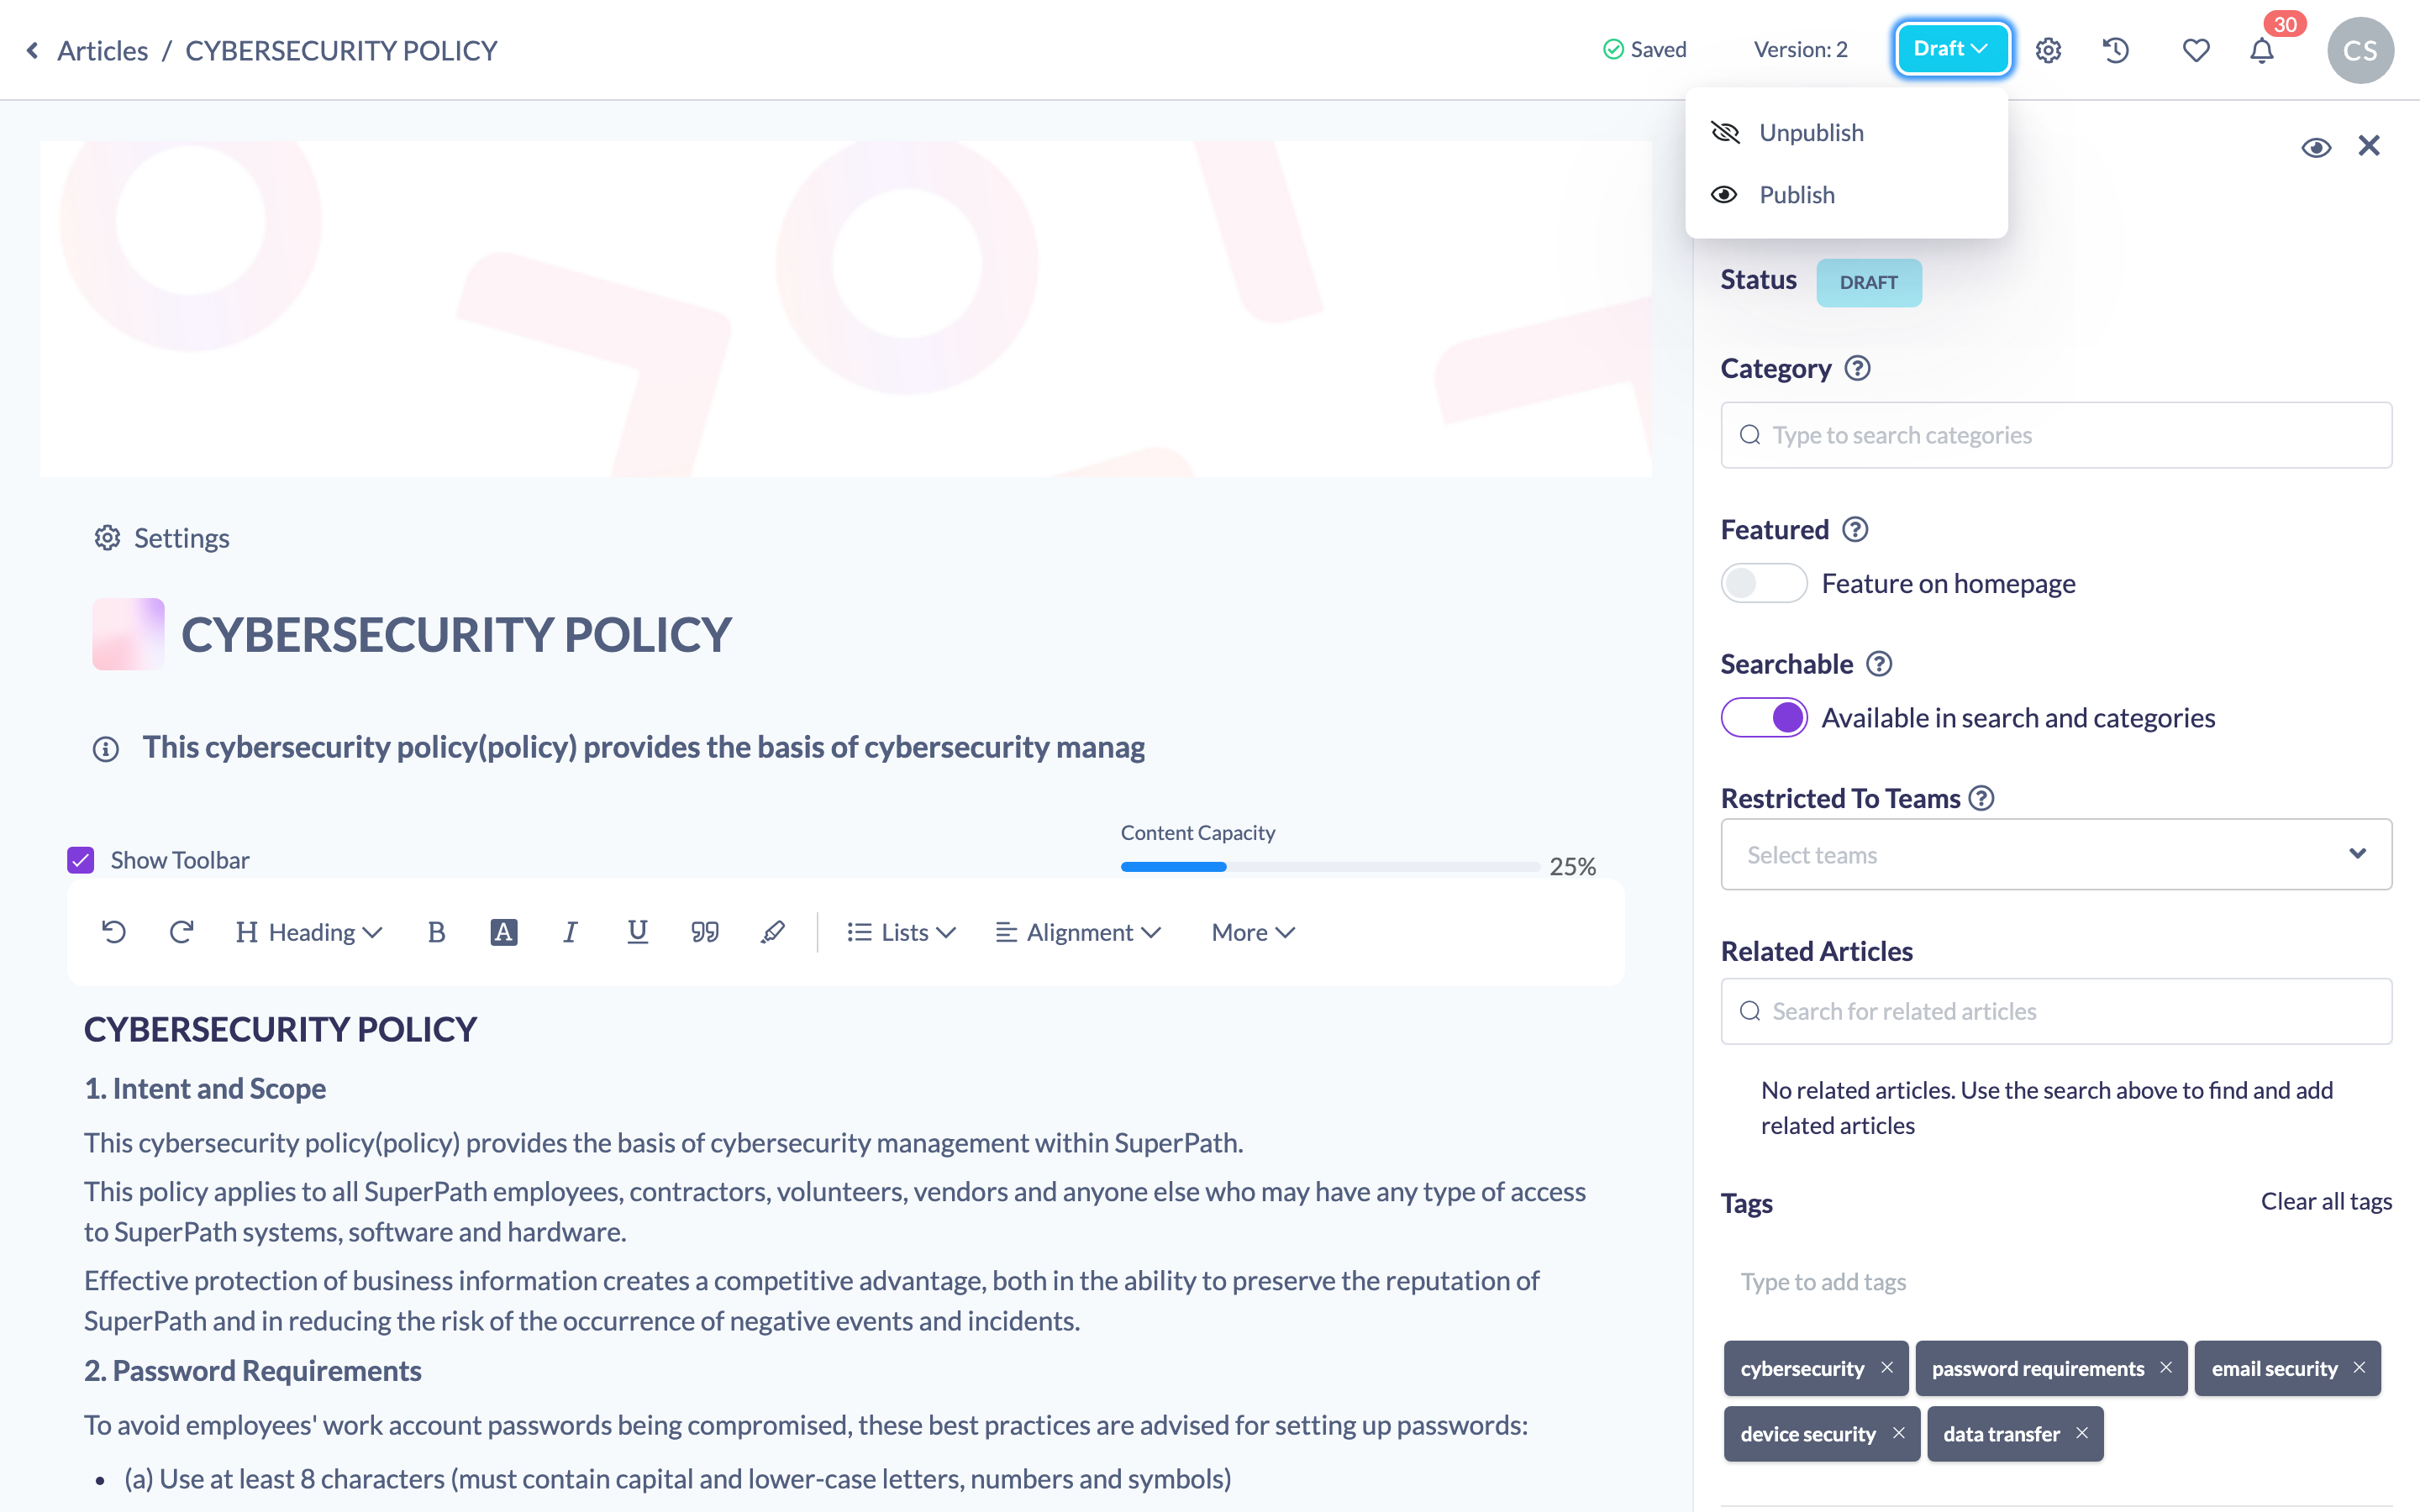
- In the top navigation, click the status button — for a new article it shows Draft.
- Choose Publish to make the article live and visible to your learners.
Tip: If you edit an article after publishing it, your changes are saved to a draft and the live version won't update until you re-publish. See How to Publish a Knowledge Article for how the Published, Unpublished and Draft states work.
Things to keep in mind
- A new article starts as a Draft and isn't visible to learners until you publish it.
- Your title, subtitle and content save automatically as you edit — there's no separate save button in the editor.
- Category and visibility are set from the Article Settings panel (the cog icon), not on a separate screen.
- Where an article appears for learners depends on its category, whether it's searchable, and any team restrictions you've applied — publishing alone makes it live.
FAQs
Do I have to publish an article straight away?
No. A new article stays as a Draft until you choose Publish, so you can build it up over time and only make it live when it's ready.
Where do I set the category?
Open the article in the editor, click the cog (Settings) in the top navigation, and choose a category in the Category section of the Article Settings panel.
Can I import an article instead of writing it from scratch?
Yes. Use the Import option on the Create article button to generate an article from an uploaded file such as a PDF or Word document.
Who can do this
Owners, Admins, Managers and Content Managers can create and edit Knowledge Articles. People Managers, Instructors, Employees and Restricted users have read-only access to Knowledge and cannot.
Updated on: 25/07/2026
Thank you!