
How to Enable Certificates
How to Enable Certificates
In this article:
- Overview
- How to enable Certificates
- Managing your Certificates
- Controlling who can add Certificates manually
- Things to keep in mind
- FAQs
- Who can do this
Overview
Certificates let you attach a Certificate to learning items and track the Certificates a person has earned against their profile. The feature is switched off until an Owner or Admin turns it on, so activating it is the first step before you can add Certificates to your learning or report on them.
How to enable Certificates
- Go to Settings → Features.
- Find the Certificates section.
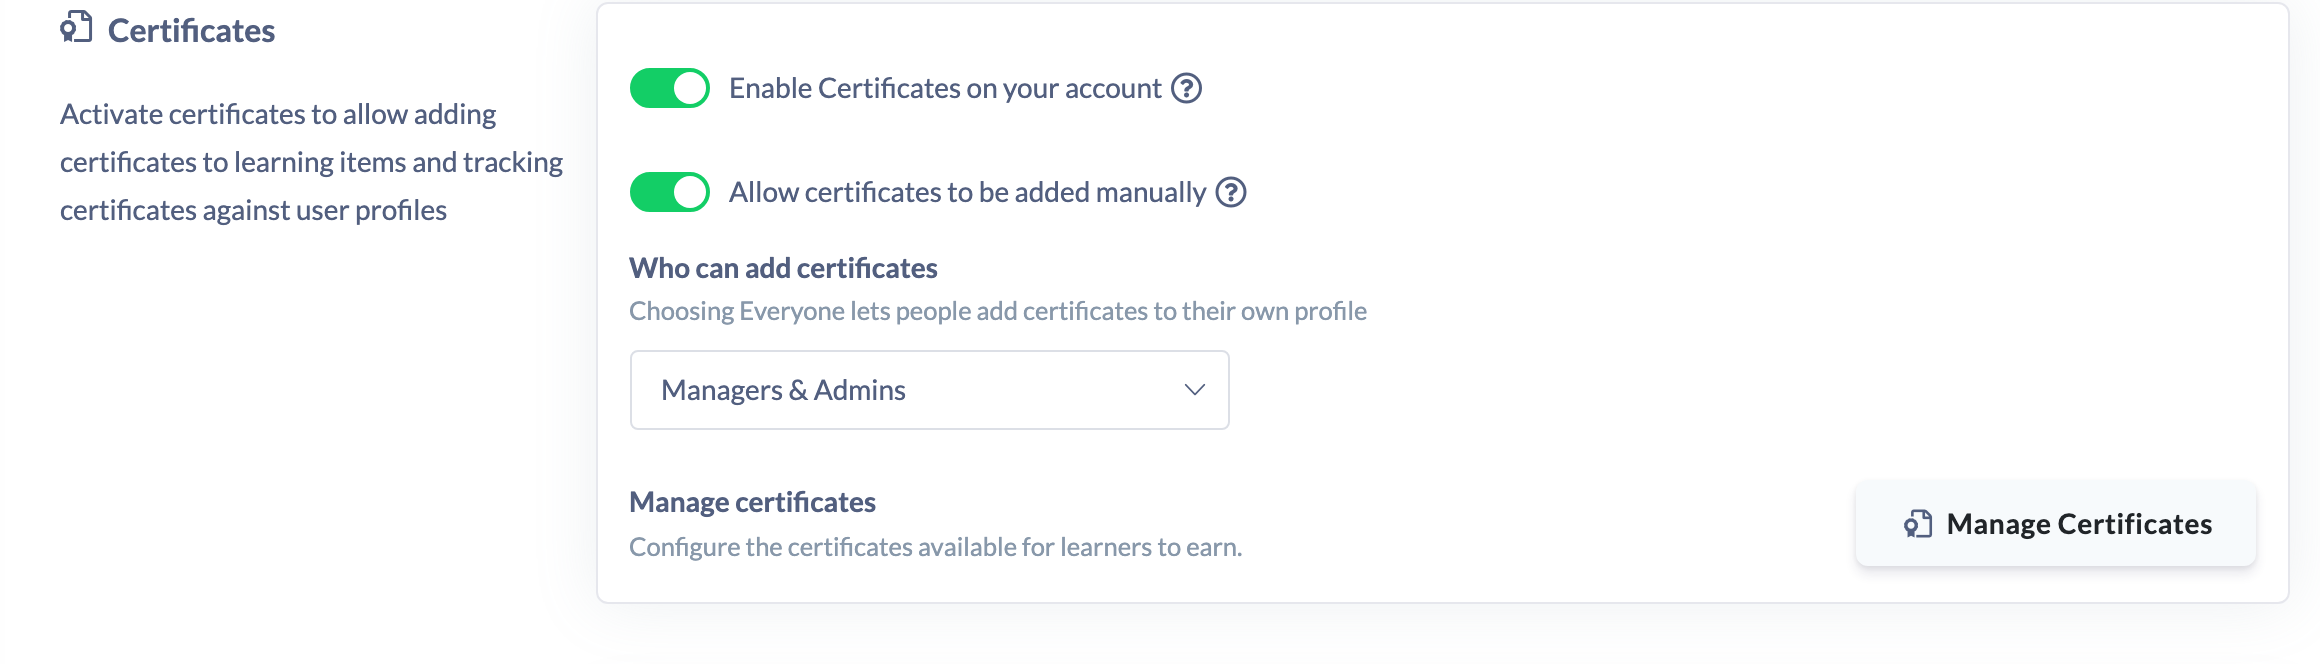
- Turn on Enable Certificates on your account.
- An Unsaved changes bar appears at the top of the screen. Click Save to apply your change.

Managing your Certificates
Once Certificates are enabled, a Manage certificates option appears in the same section, with a Manage Certificates button. Use it to configure the Certificates that are available for learners to earn.

Controlling who can add Certificates manually
Certificates are normally awarded automatically when someone completes the learning they're attached to. Two further settings in the same Certificates section control whether anyone can also record a Certificate by hand — for a qualification earned outside SuperPath, for example.
- Allow certificates to be added manually — on by default. When you switch it off, nobody can hand-add a Certificate to anyone, including Admins; Certificates are then only ever awarded automatically on completion.
- Who can add certificates — appears once the switch above is on. Choose Everyone, Managers & Admins (the default) or Admin Only.
Choosing Everyone is what opens up self-service: your people can then record their own Certificates from the Certificates tab on their profile, choosing from the Certificates you've already set up. See How to Add a Certificate to a Person.
Note: Switching Allow certificates to be added manually off also removes people's ability to edit or delete Certificates they previously added themselves. The records stay on their profile; only the actions disappear.
Things to keep in mind
- After turning the switch on, click Save in the Unsaved changes bar for the change to take effect.
- If you deactivate Certificates later, all related features become unavailable.
- The Manage Certificates shortcut appears once the feature is enabled on a standard account.
- Allow certificates to be added manually and Who can add certificates only appear once Certificates are enabled, and only on a standard account (not through a partner).
- The manual-add access level defaults to Managers & Admins, so opening it up to your whole organisation is a deliberate change rather than something that happens by default.
FAQs
What can I do once Certificates are enabled?
You can add Certificates to learning items and track the Certificates each person has earned against their profile, and you can configure the available Certificates from Manage Certificates.
What happens if I turn Certificates off again?
All Certificate-related features become unavailable while the feature is switched off.
What's the difference between the two manual-add settings?
Allow certificates to be added manually is the master switch — off means nobody can, whatever their role. Who can add certificates then narrows it to Everyone, Managers & Admins or Admin Only.
Does turning off manual adding stop Certificates being awarded?
No. Automatic awards on completion carry on exactly as before. The setting only governs adding a Certificate to someone by hand.
Who can do this
Only Owners and Admins can change feature settings. The Settings area is restricted to these two roles, and saving a change to Features requires the tenant-settings update permission, which only Owners and Admins hold. Managers, Content Managers, People Managers, Instructors, Employees and Restricted users cannot open Settings or change this toggle.
Updated on: 11/08/2026
Thank you!